
- Updated Date: 03 Dec 2025
- Support Email: support@pixelnx.com
Introduction
Medical Equipment - E Commerce WordPress Theme
We would like to thank you for purchasing Medical Equipment - E Commerce WordPress Theme ! We are very pleased that you have chosen Medical Equipment - E Commerce WordPress Theme for your website. Before you get started, please be sure to always search our Documentation and Knowledgebase. Medical Equipment - ECommerce WordPress Theme can be used with WordPress and we assume that you already have WordPress installed and ready to go. Medical Equipment - E-Commerce WordPress Theme is a one click installation theme. If you do not, please follow this link WordPress Installation to see our section on WordPress to help you get started.
Medical Equipment - E Commerce WordPress Theme
Created Date:
Updated Date:
Please check Live Preview:
Creative Auther Portfolio:
Features
Medical Equipment - E-Commerce WordPress Theme is created by the professional website template and WordPress theme creators keeping in mind all the necessary requirements that theme must-have.
As we are amidst coronavirus pandemic, there is a whopping need for the Medical Equipment everywhere and for every single person. The workers and doctors need some high geared equipment where others need just masks, hand gloves and sanitizes. Whatever the need is, It is real.
So keeping in mind the above situation, We have created the Medical Equipment - E Commerce WordPress Theme that is made with some top quality features like Awesome Revolution Slider that looks extremely aesthetic, multiple Google Fonts, Retina Ready, Speed Optimized, Multiple Page Website, Neat Simple and Clean Design that makes the website look classy, Fully Responsive Theme, Free Icons, Images, and Google Fonts, Compatible With Major Modern Browsers, SEO Friendly Clean Code.
We are eager to help you with any questions and queries as we have an excellent support service.
Features of the theme
- 9 Different Home Pages
- Drag And Drop Builder
- One Click Demo Installation
- Theme Setting Options
- Elementor Page Builder
- Redux Framework
- Fully Responsive Design
- Latest WordPress Supports
- Easy To Customize
- Cross Browser Compatible
- Unique Shop Pages
- Animation Effects
- SEO Friendly
- WooCommerce
- Add Unlimited Color Option
- Add RTL Demo
- 3 Woocommerce product style

Installation
You can install the theme in two ways: through WordPress, or via FTP. The Medical Equipment.zip file is the Installable WordPress Theme and that is what you need to use to get the theme installed. Please see the following sections for each method.
1) Installation via FTP: Prefer upload the un-zipped theme folder
2) Installation via WordPress: Install and Activate
Theme Requirements
To use this theme you must be running at least WordPress 6.x PHP 7.x 8.x or higher
We recommend that please make sure that your server PHP configuration limits are as follows:
- max_execution_time 600
- memory_limit 128M
- post_max_size 32M
- upload_max_filesize 32M
If you are running unmanaged dedicated server or VPS, you should check your php.ini file.
- php_value max_execution_time 600
- php_value memory_limit 128M
- php_value post_max_size 32M
- php_value upload_max_filesize 32M
Wordpress Installation
How To Install Medical Equipment - E Commerce WordPress Theme! via WordPress
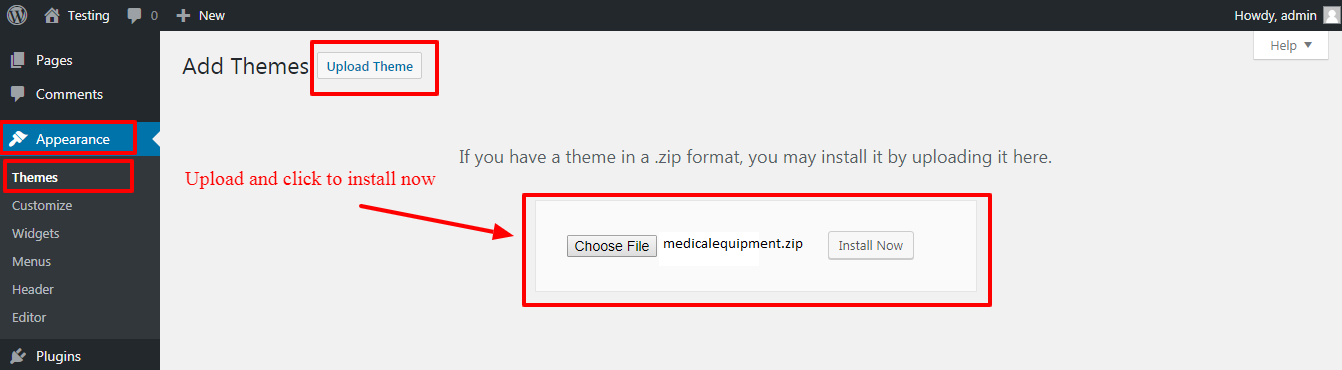
Step 1 – Navigate to Appearance > Themes.
Step 2 – Click Add New and click the Upload button. Navigate to find the “Medical.zip” file on your computer and click “Install Now”
NOTE: From 5th step onwards all the points are same for both installation method ie WP installation and FTP installation.
FTP Installation
How To Install Medical Equipment - E Commerce WordPress Theme ! via FTP
Step 1 – Log into your hosting space via an FTP software.
Step 2 – Unzip the Medical Equipment.zip file and only use the extracted Medical Equipment theme folder.
Step 3 – Upload the extracted Medical Equipment theme folder into wp-content > themes folder.

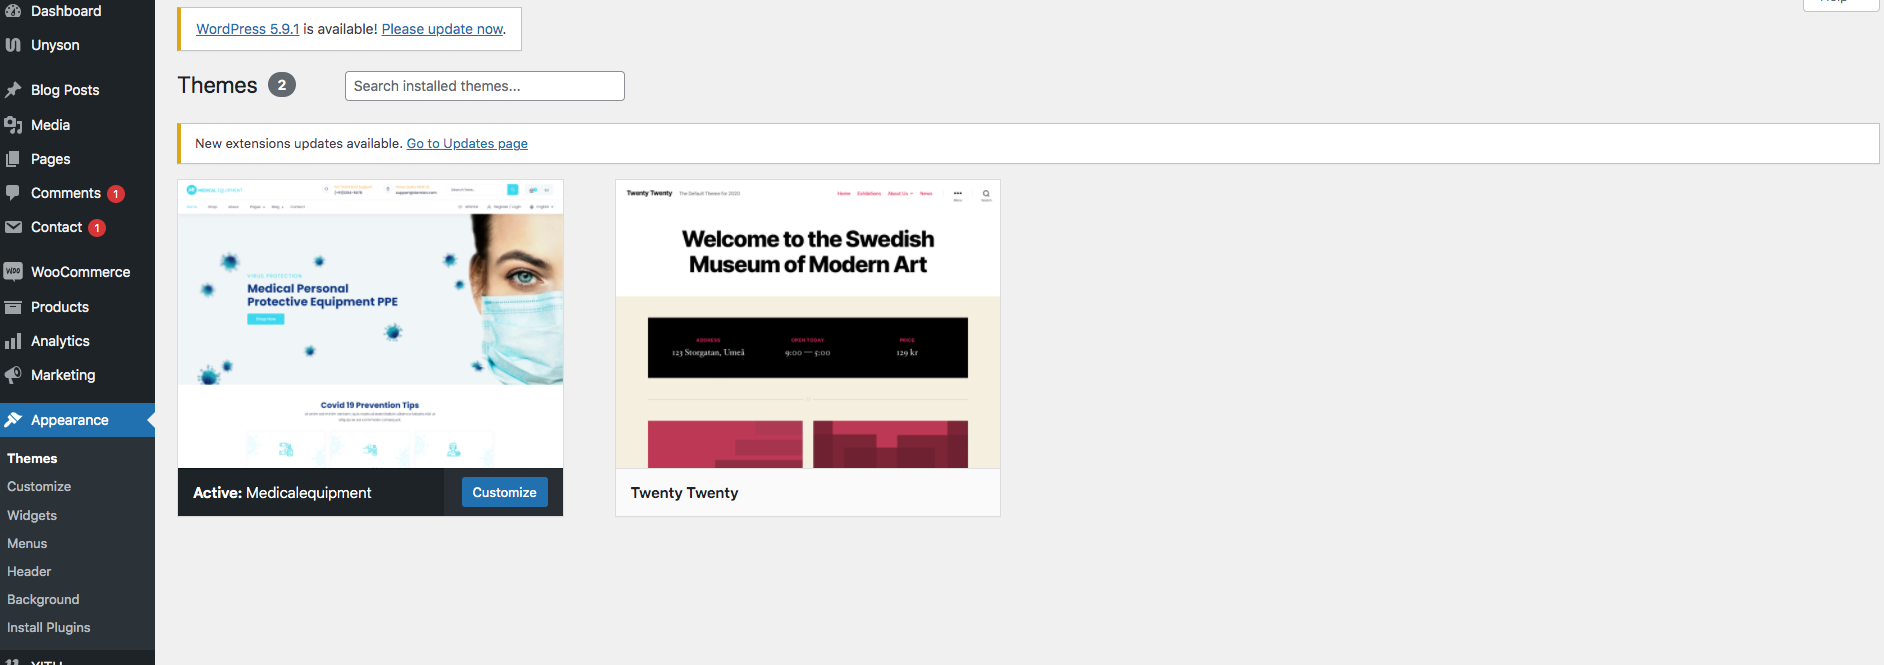
Step 4 – Navigate to the wp-dashboard and then activate the newly installed theme by going to Appearance > Themes and clicking the Activate button.
Step 5 – Once uploaded, activate the theme. Go to Appearance > Themes and activate it. Then go to Appearance >> Install Plugins option.
Step 6 – Once you click the Install Plugin option, you will get the list of the required plugins.

Plugins that will need to be installed and activated: Contact Form7, Elementor, Medicalcore Elementor, Redux Framework, Revslider(Slider Revolution), One Click Demo Import, WooCommerce Plugin are required for the theme to work, it contains all of our theme features like shortcodes and shortcode generator.
1. Elementor – The Elementor Website Builder has it all: drag and drop page builder, pixel perfect design, mobile responsive editing, and more.
2. Medicalcore Elementor – Medicalcore Elementor is a core plugin for the Medical Equipment - E Commerce WordPress Theme.This plugin create custom post type and some meta option and Shortcode . .
3. Slider Revolution – Slider Revolution is an innovative, responsive WordPress Slider Plugin that displays your content the beautiful way. Whether it's a Slider, Carousel, Hero Scene or even a whole Front Page, the visual, drag & drop editor will let you tell your own stories in no time!
4. ContactForm 7 – Contact Form 7 can manage multiple contact forms, plus you can customize the form and the mail contents flexibly with simple markup.
5. WooCommerce – WooCommerce is a flexible, open-source eCommerce solution built on WordPress. Whether you’re launching a business, taking an existing brick and mortar store online, or designing sites for clients you can get started quickly and build exactly the store you want.
6. One Click Demo Import – Import your content, widgets and theme settings with one click. Theme authors! Enable simple demo import for your theme demo data.
7. Redux Framework – Build better sites in WordPress fast!
8. Chatway Live Chat – Chatway is a live chat app. Use Chatway to chat with your website's visitors.
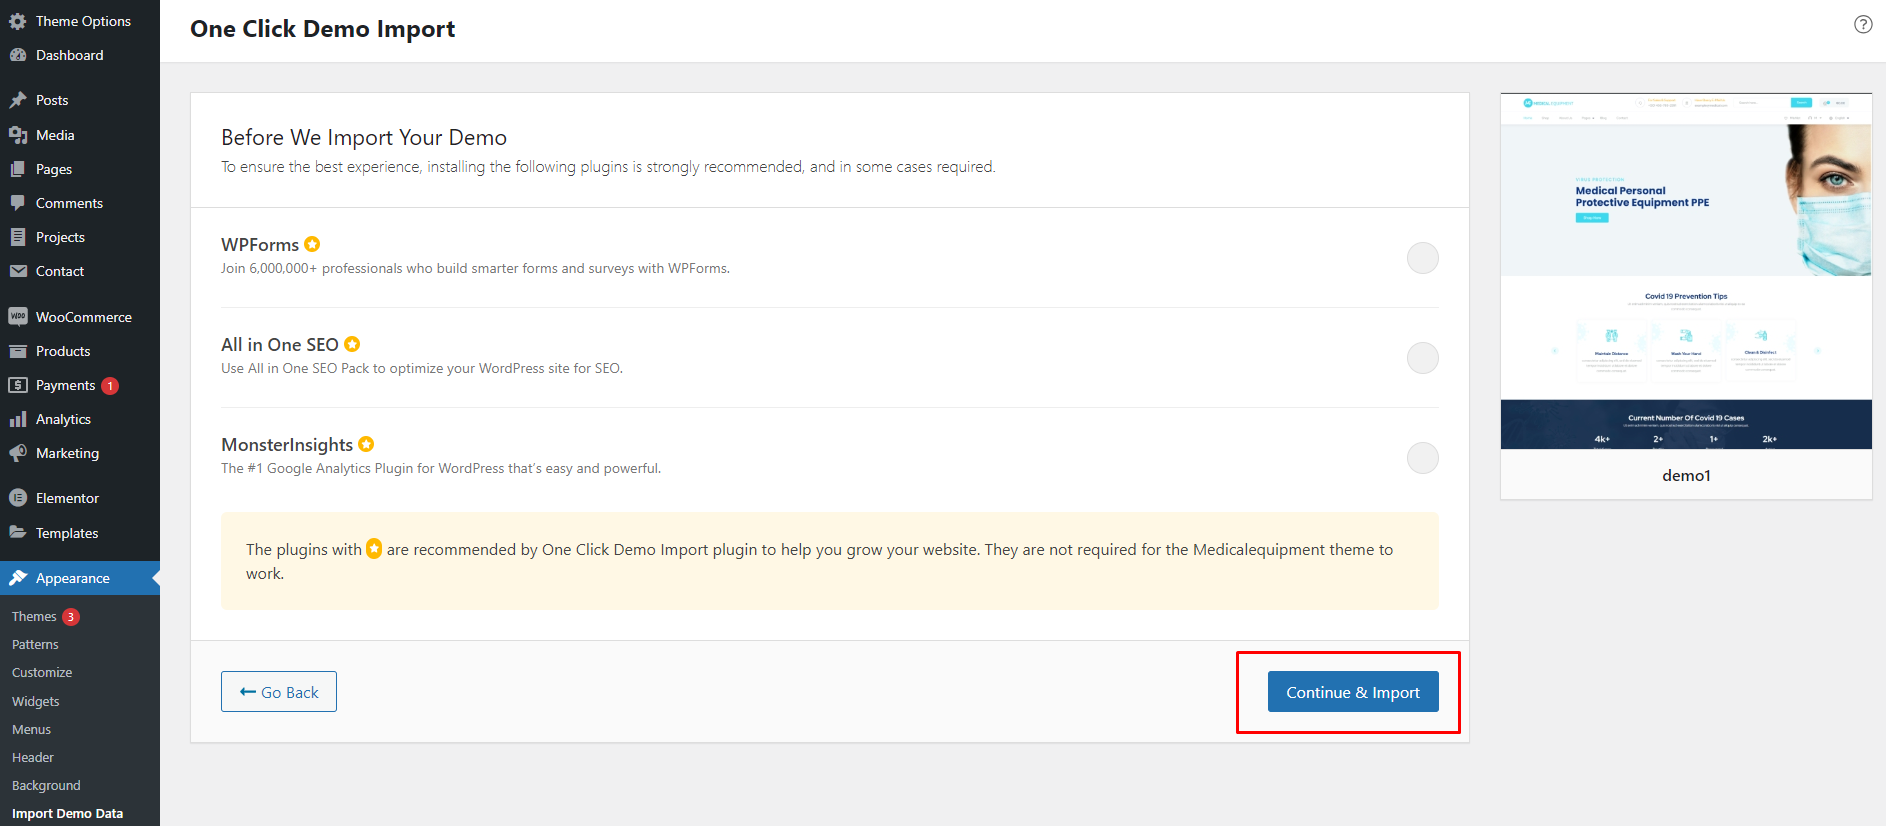
Step 7 - After installting and activating the plugins, navigate to Appearance >> Import Demo Data . Click on Import Demo button.

Step 8 - Now, click on Continue & Import button. And wait till demo gets imported.
Theme Settings
The various options provided by Theme Settings are as follows :
Navigate to appearance>>Theme Settings
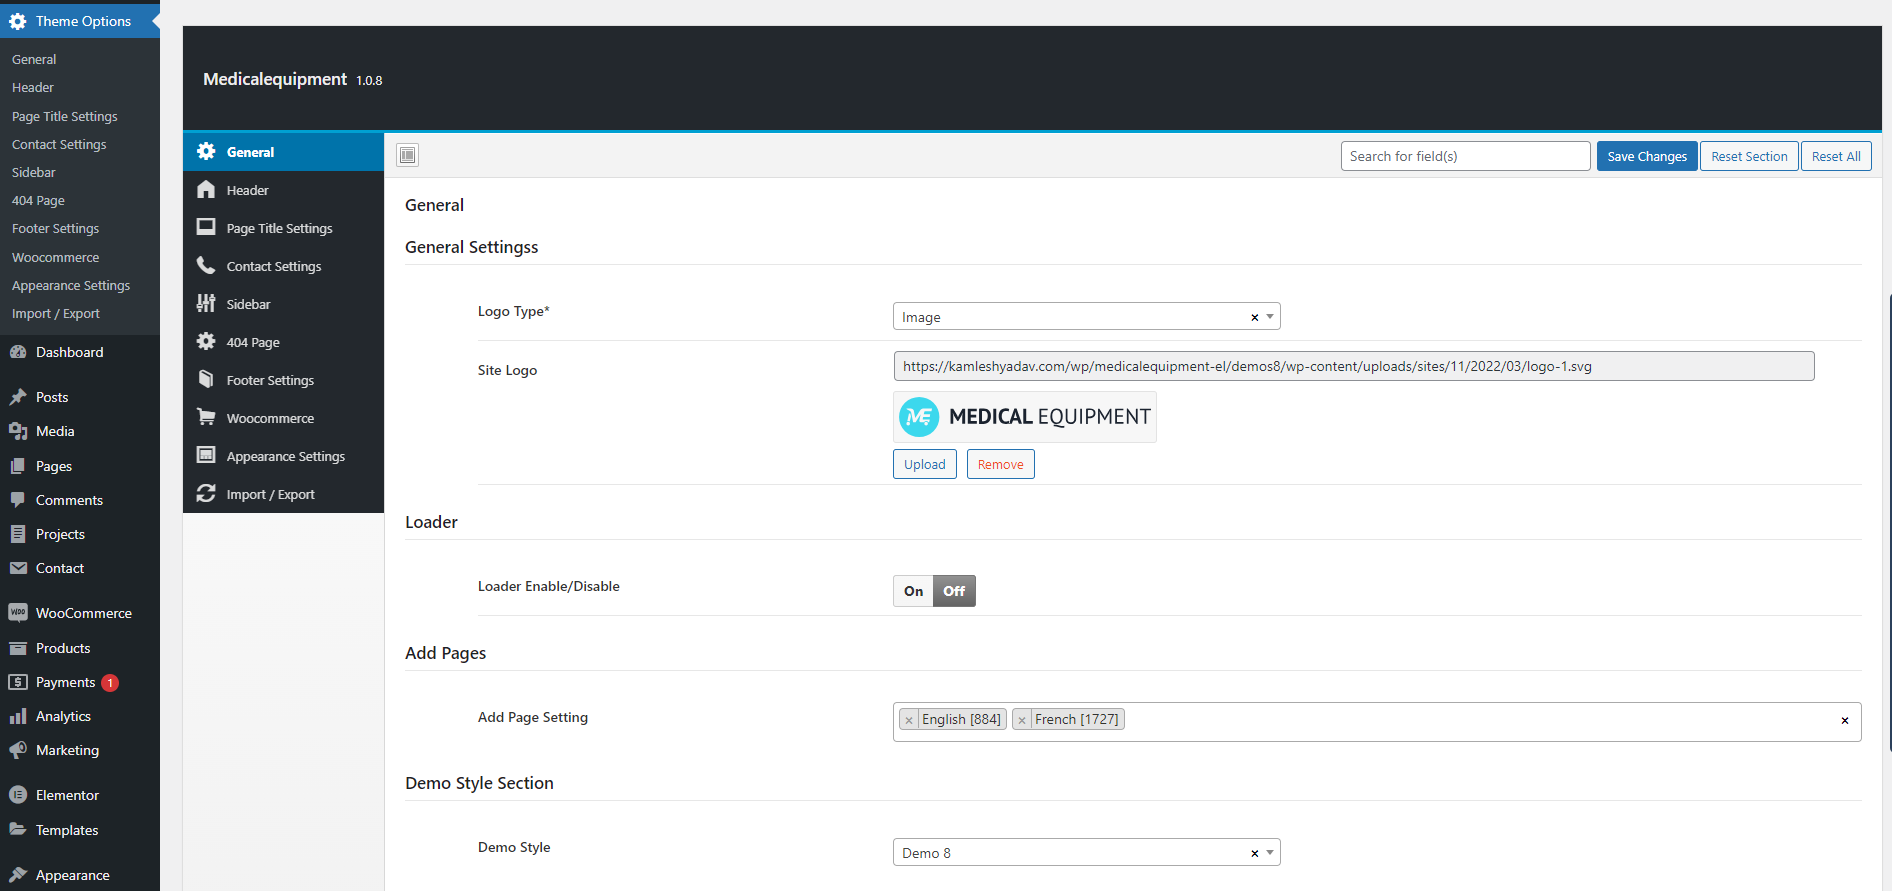
General Setting
General settings consist of logo and loader setting option.
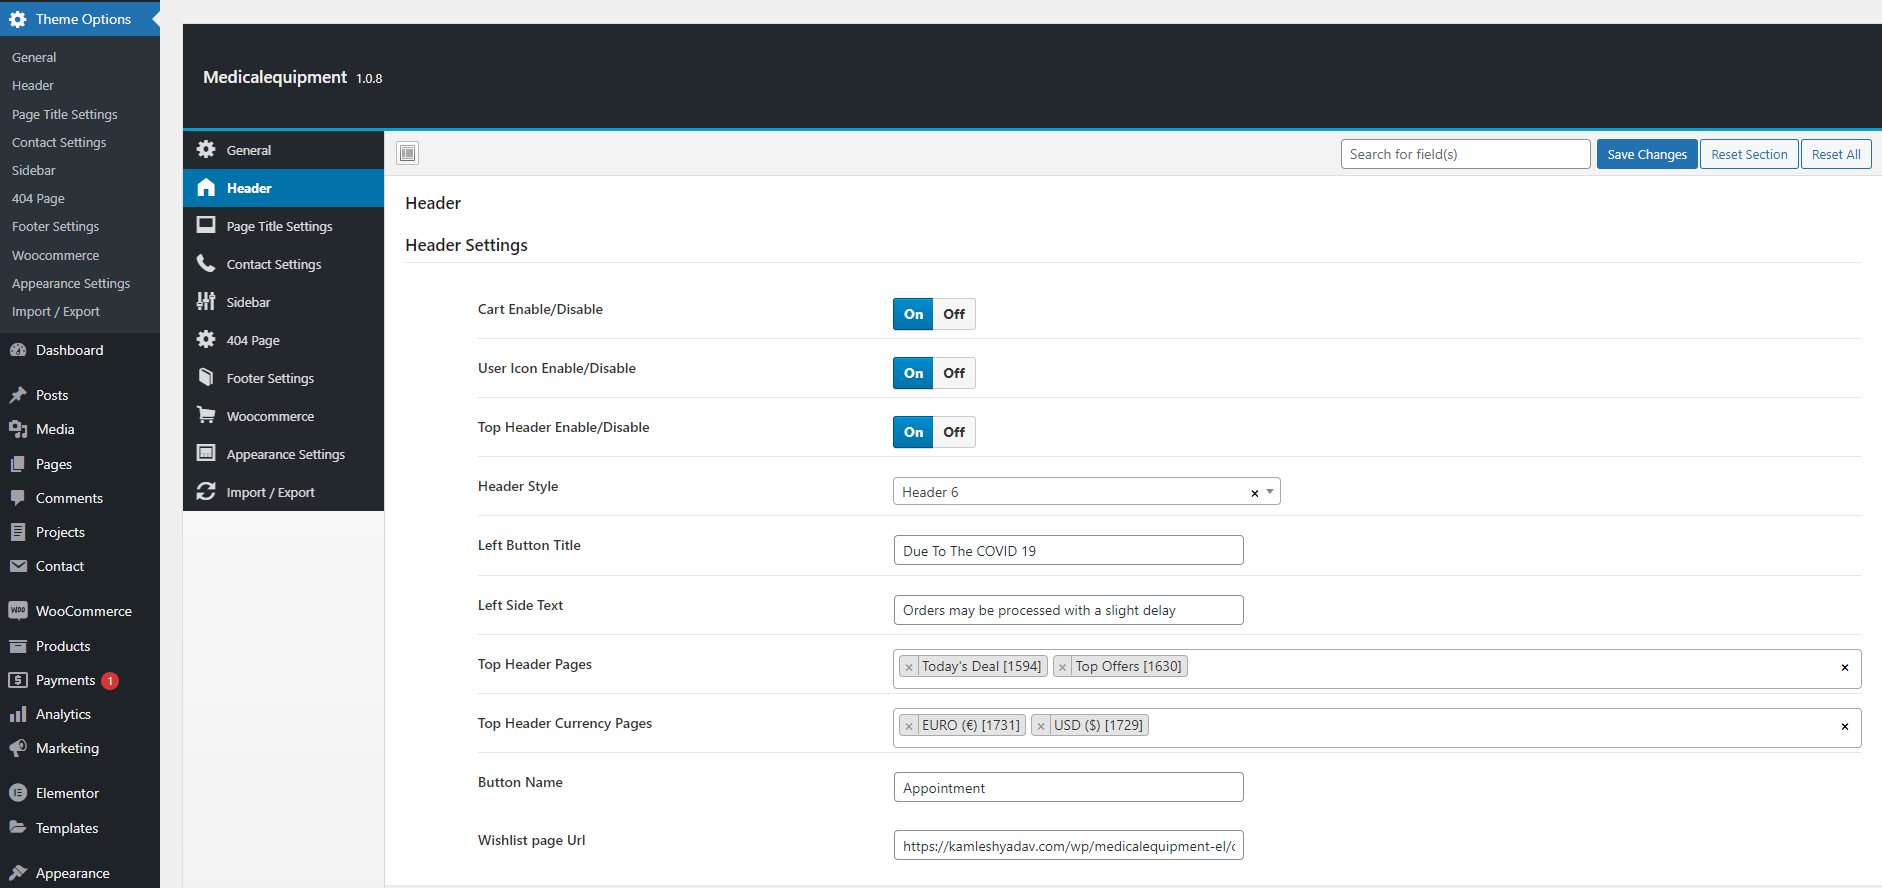
Header Setting
Header settings consist of header style, top header settings, add to cart and user icon enable/disable option.
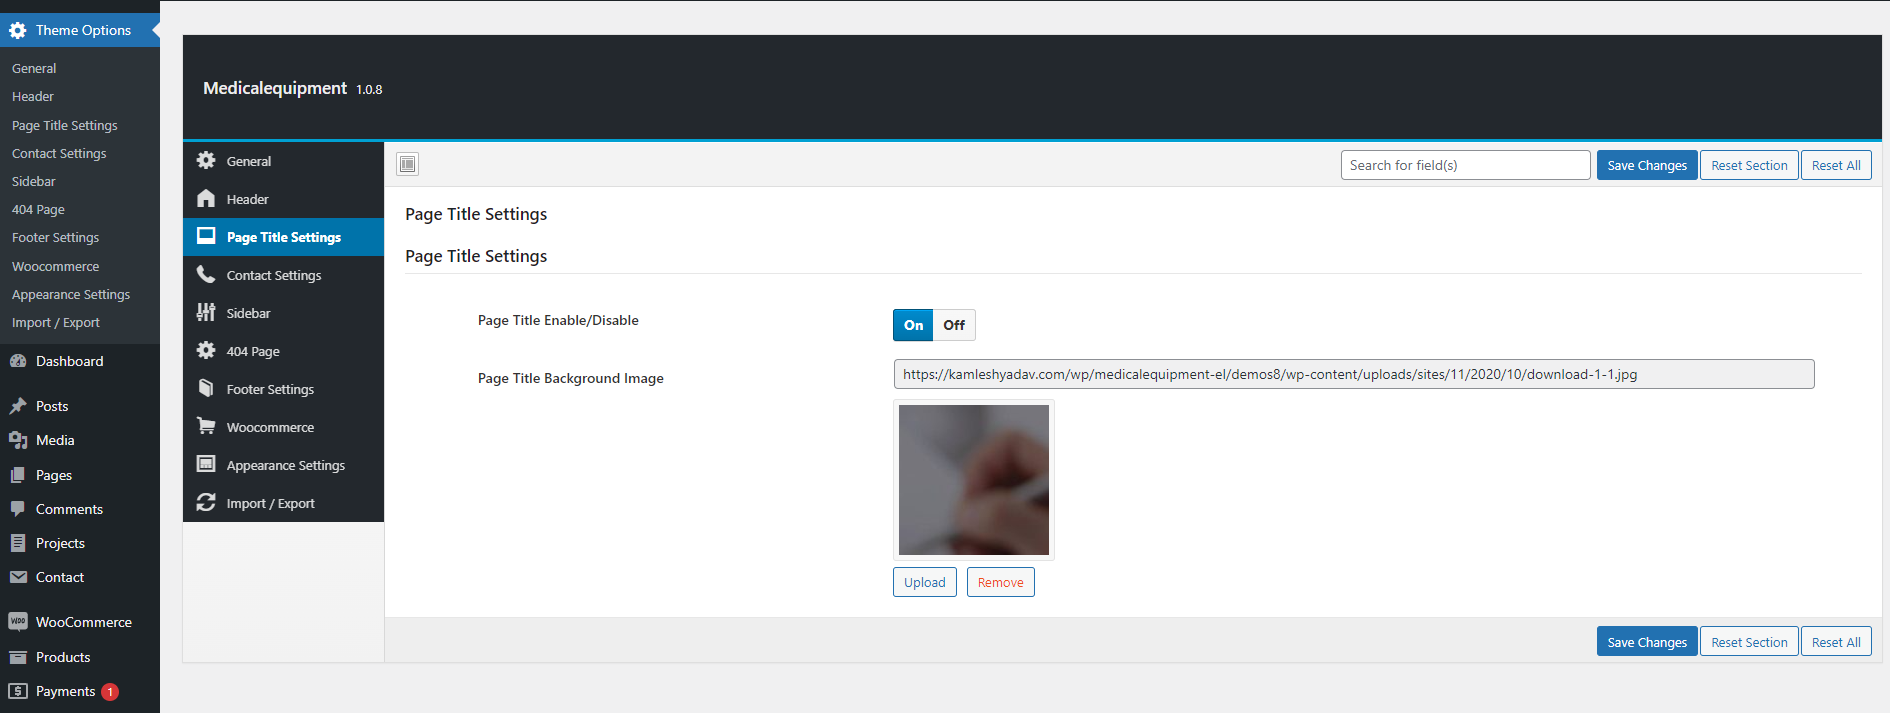
Page Title Setting
Page Title settings consist of page_title enable/disable option and upload page title image.
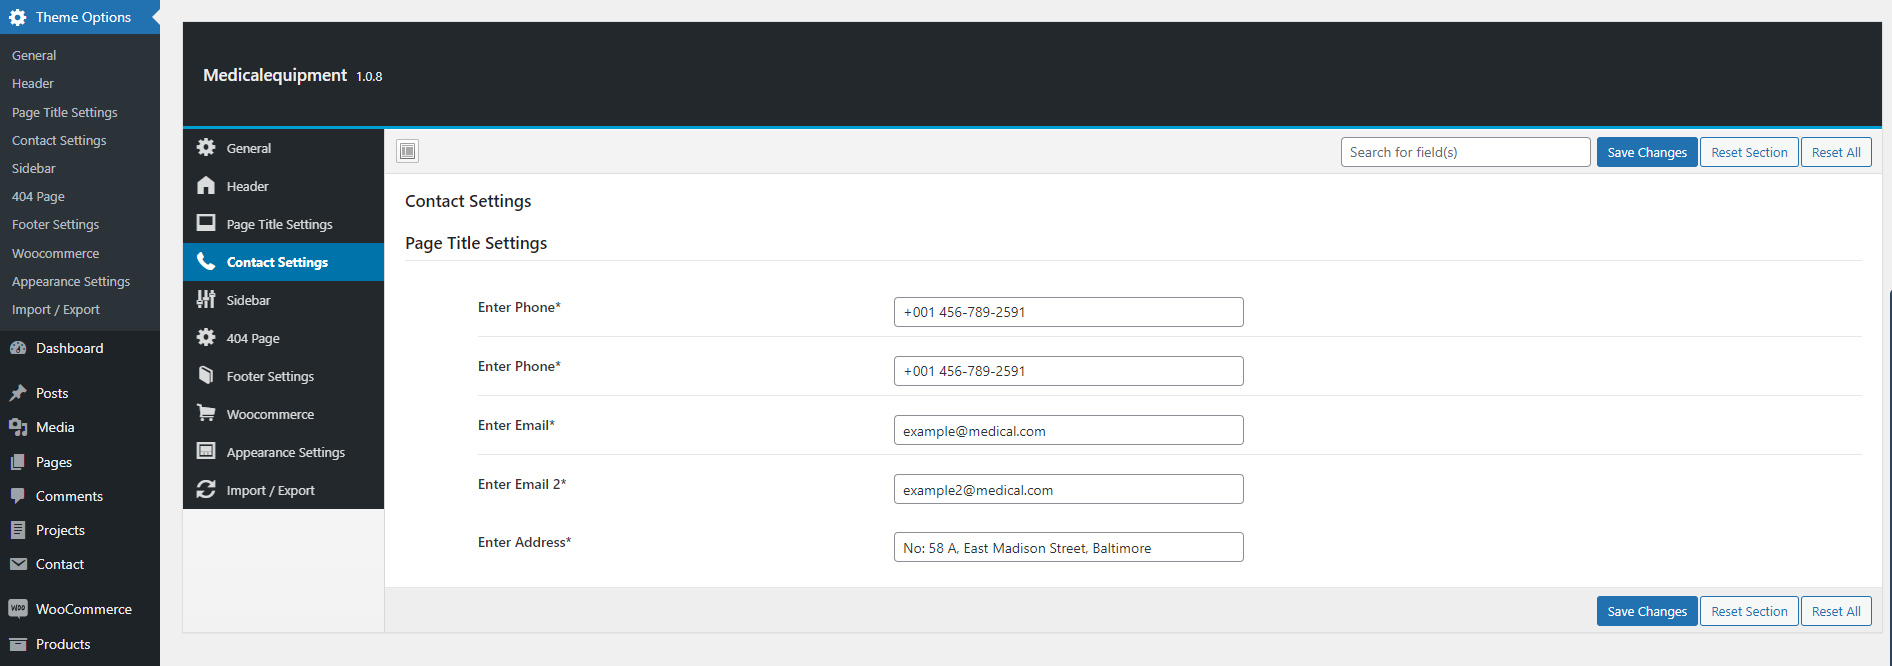
Contact Setting
Contact setting has the option for email id, address and contact no. to show in header and footer.
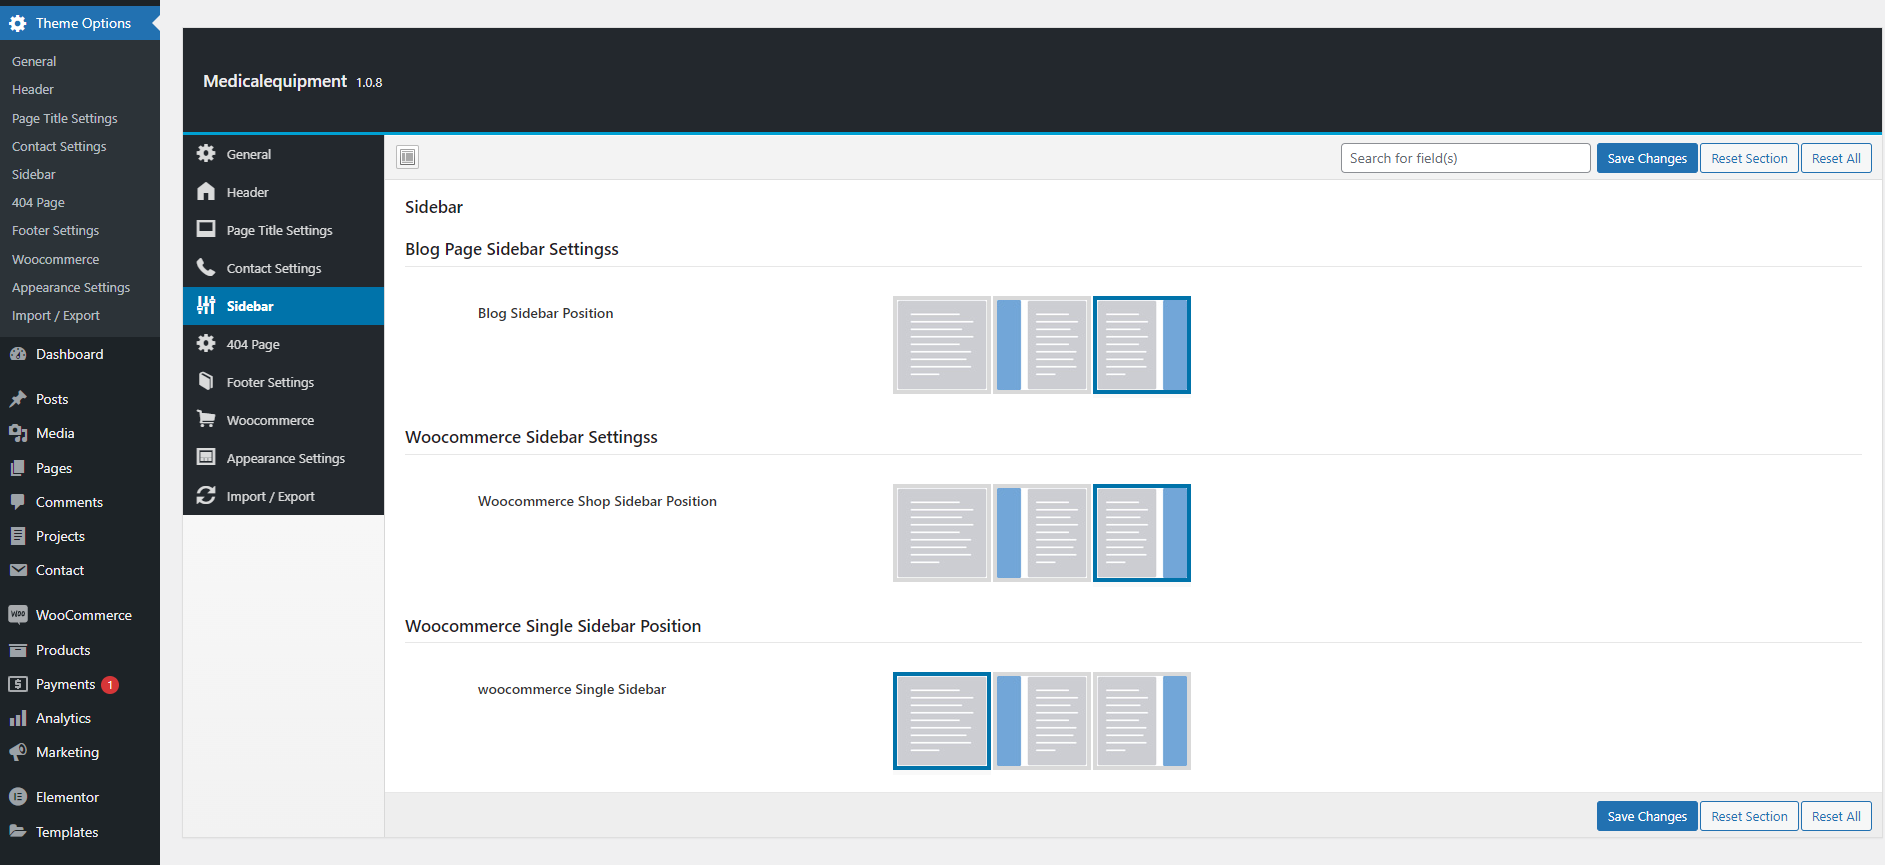
Sidebar Setting
Sidebar settings consist of Blog Page, Woocommerce Shop and Single sidebar position.
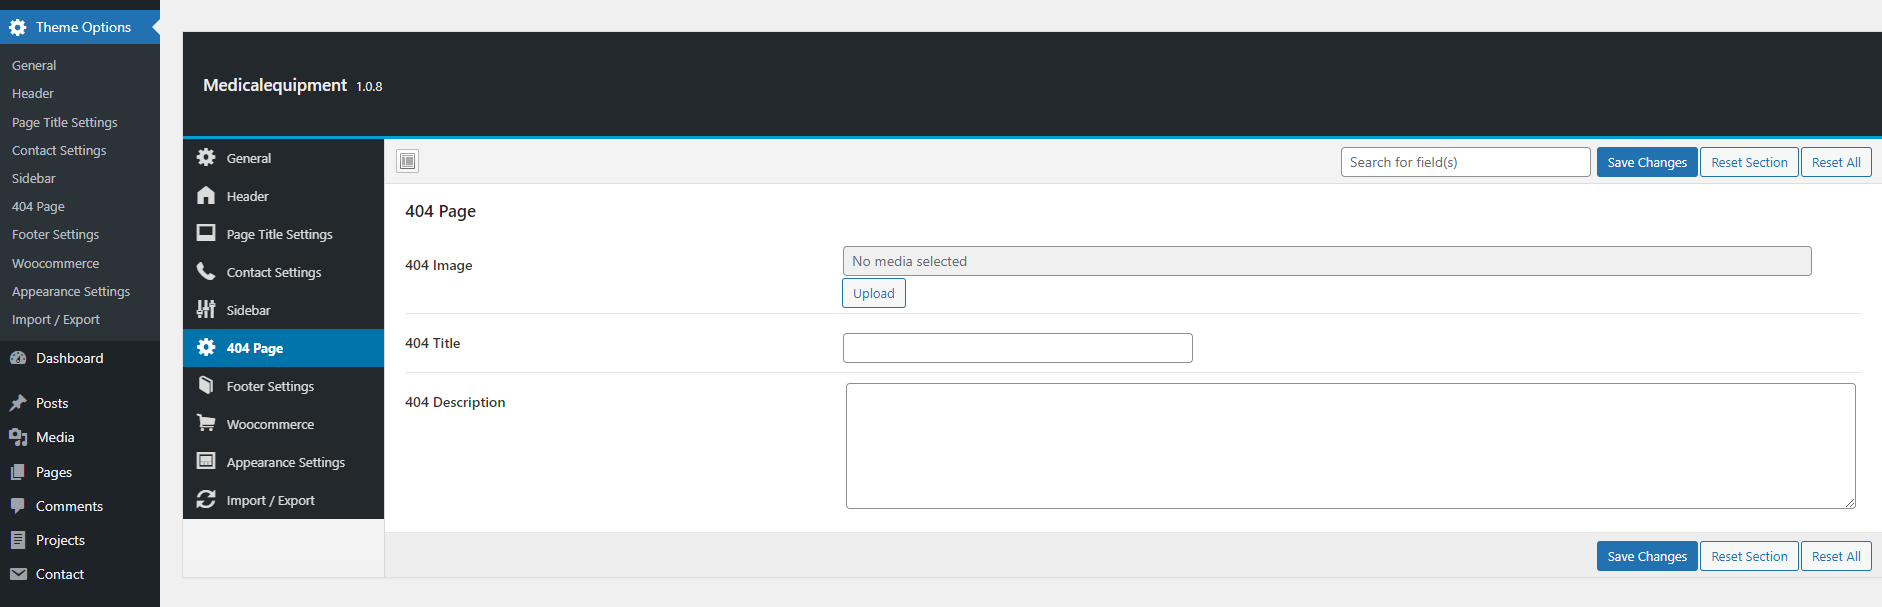
404 Setting
404 setting will consist of error page setting.
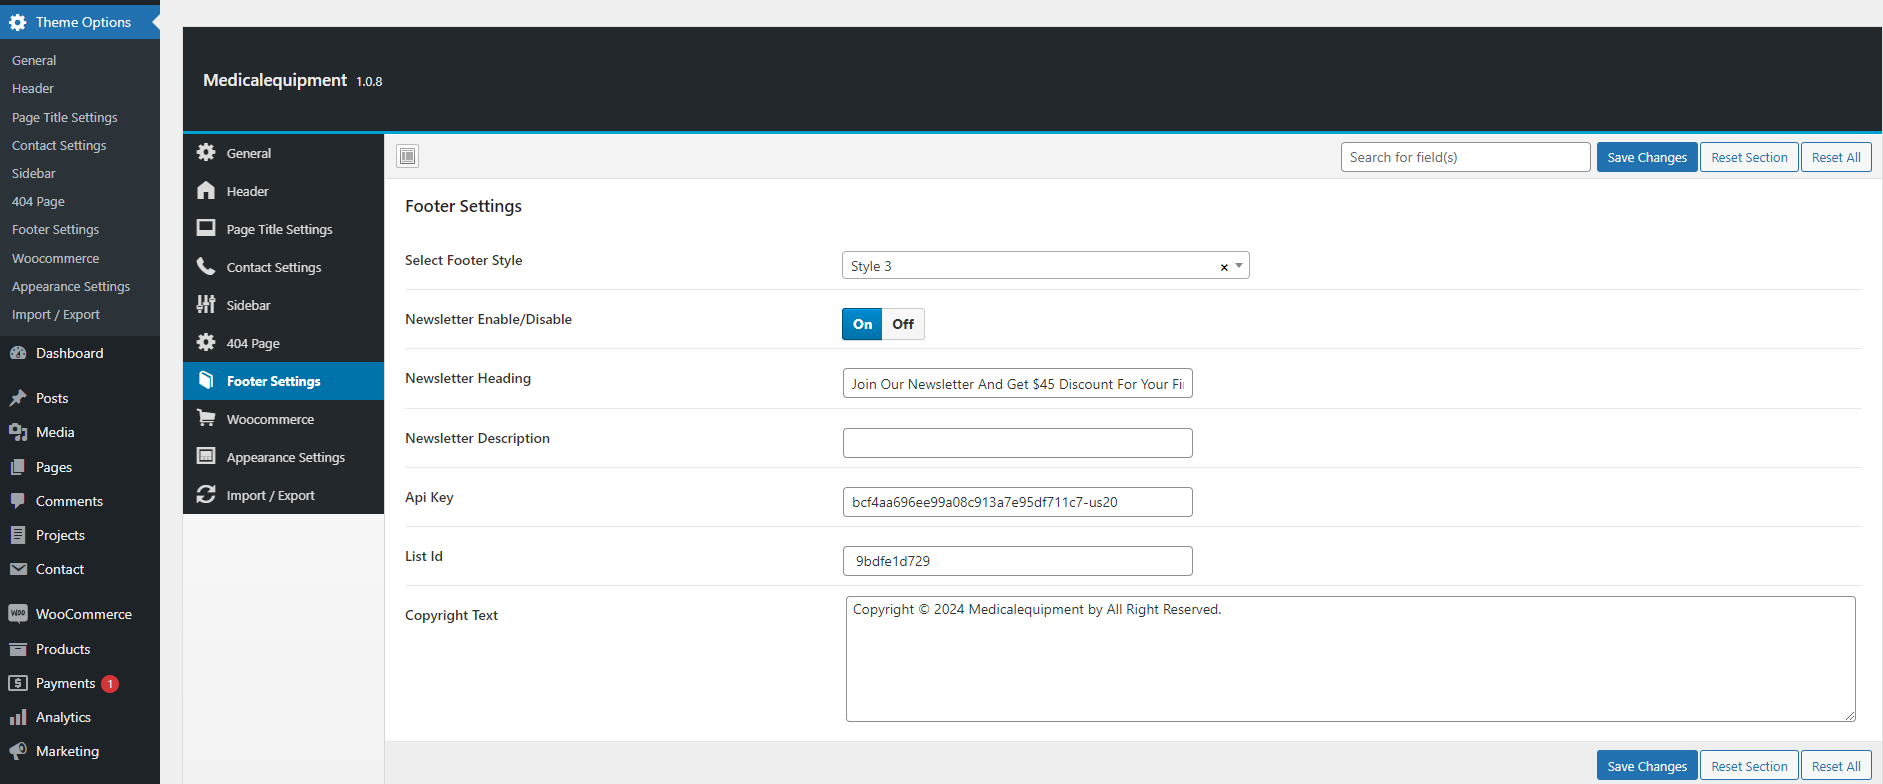
Footer Setting
Footer settings consist of footer style, newsletter and copyright text settings.
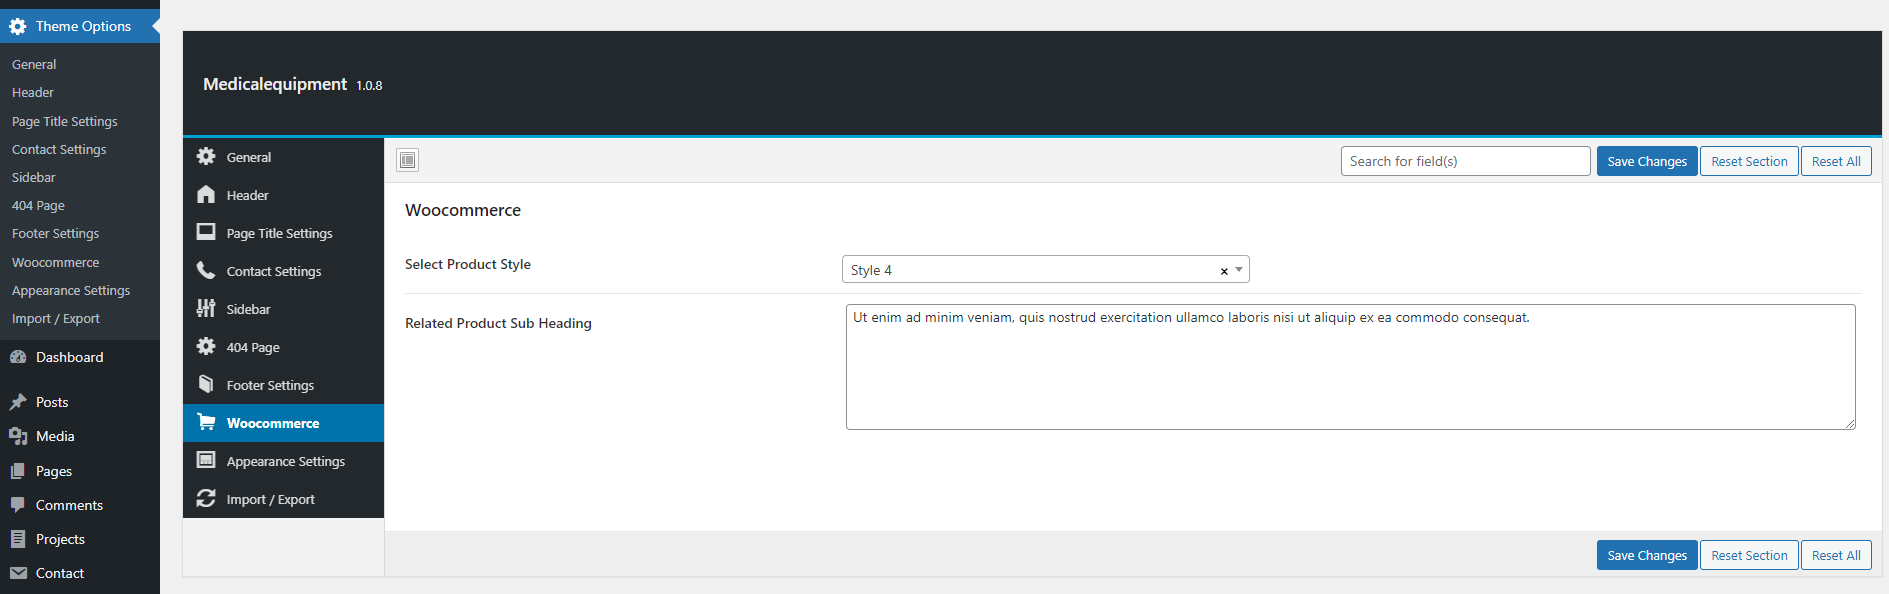
WooCommerece Setting
WooCommerce setting consist of the Product Style and Product Sub Heading. User can select the desired product style and enter the sub heading.
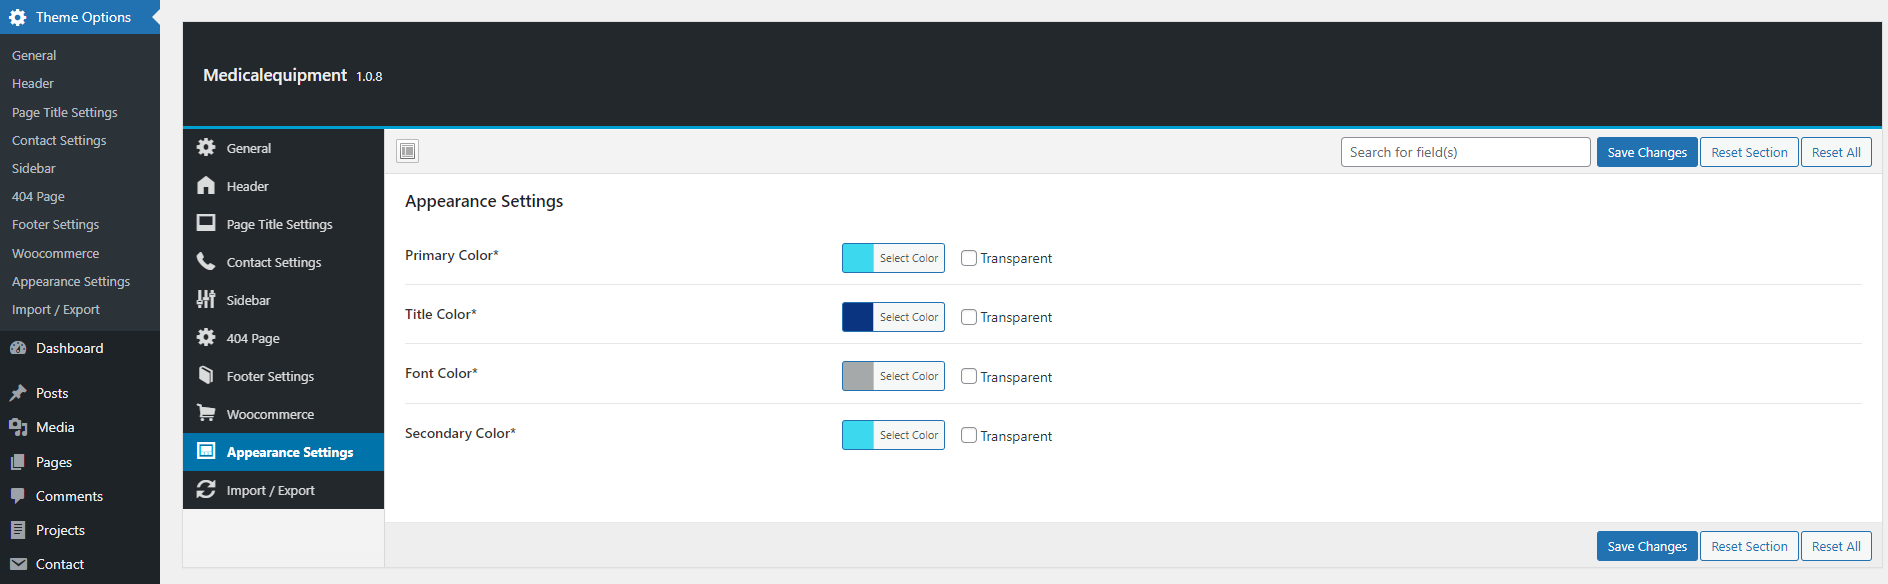
Appearance Setting
Appearance setting consist of the various color setting like Primary, Secondary, Title and Font color.
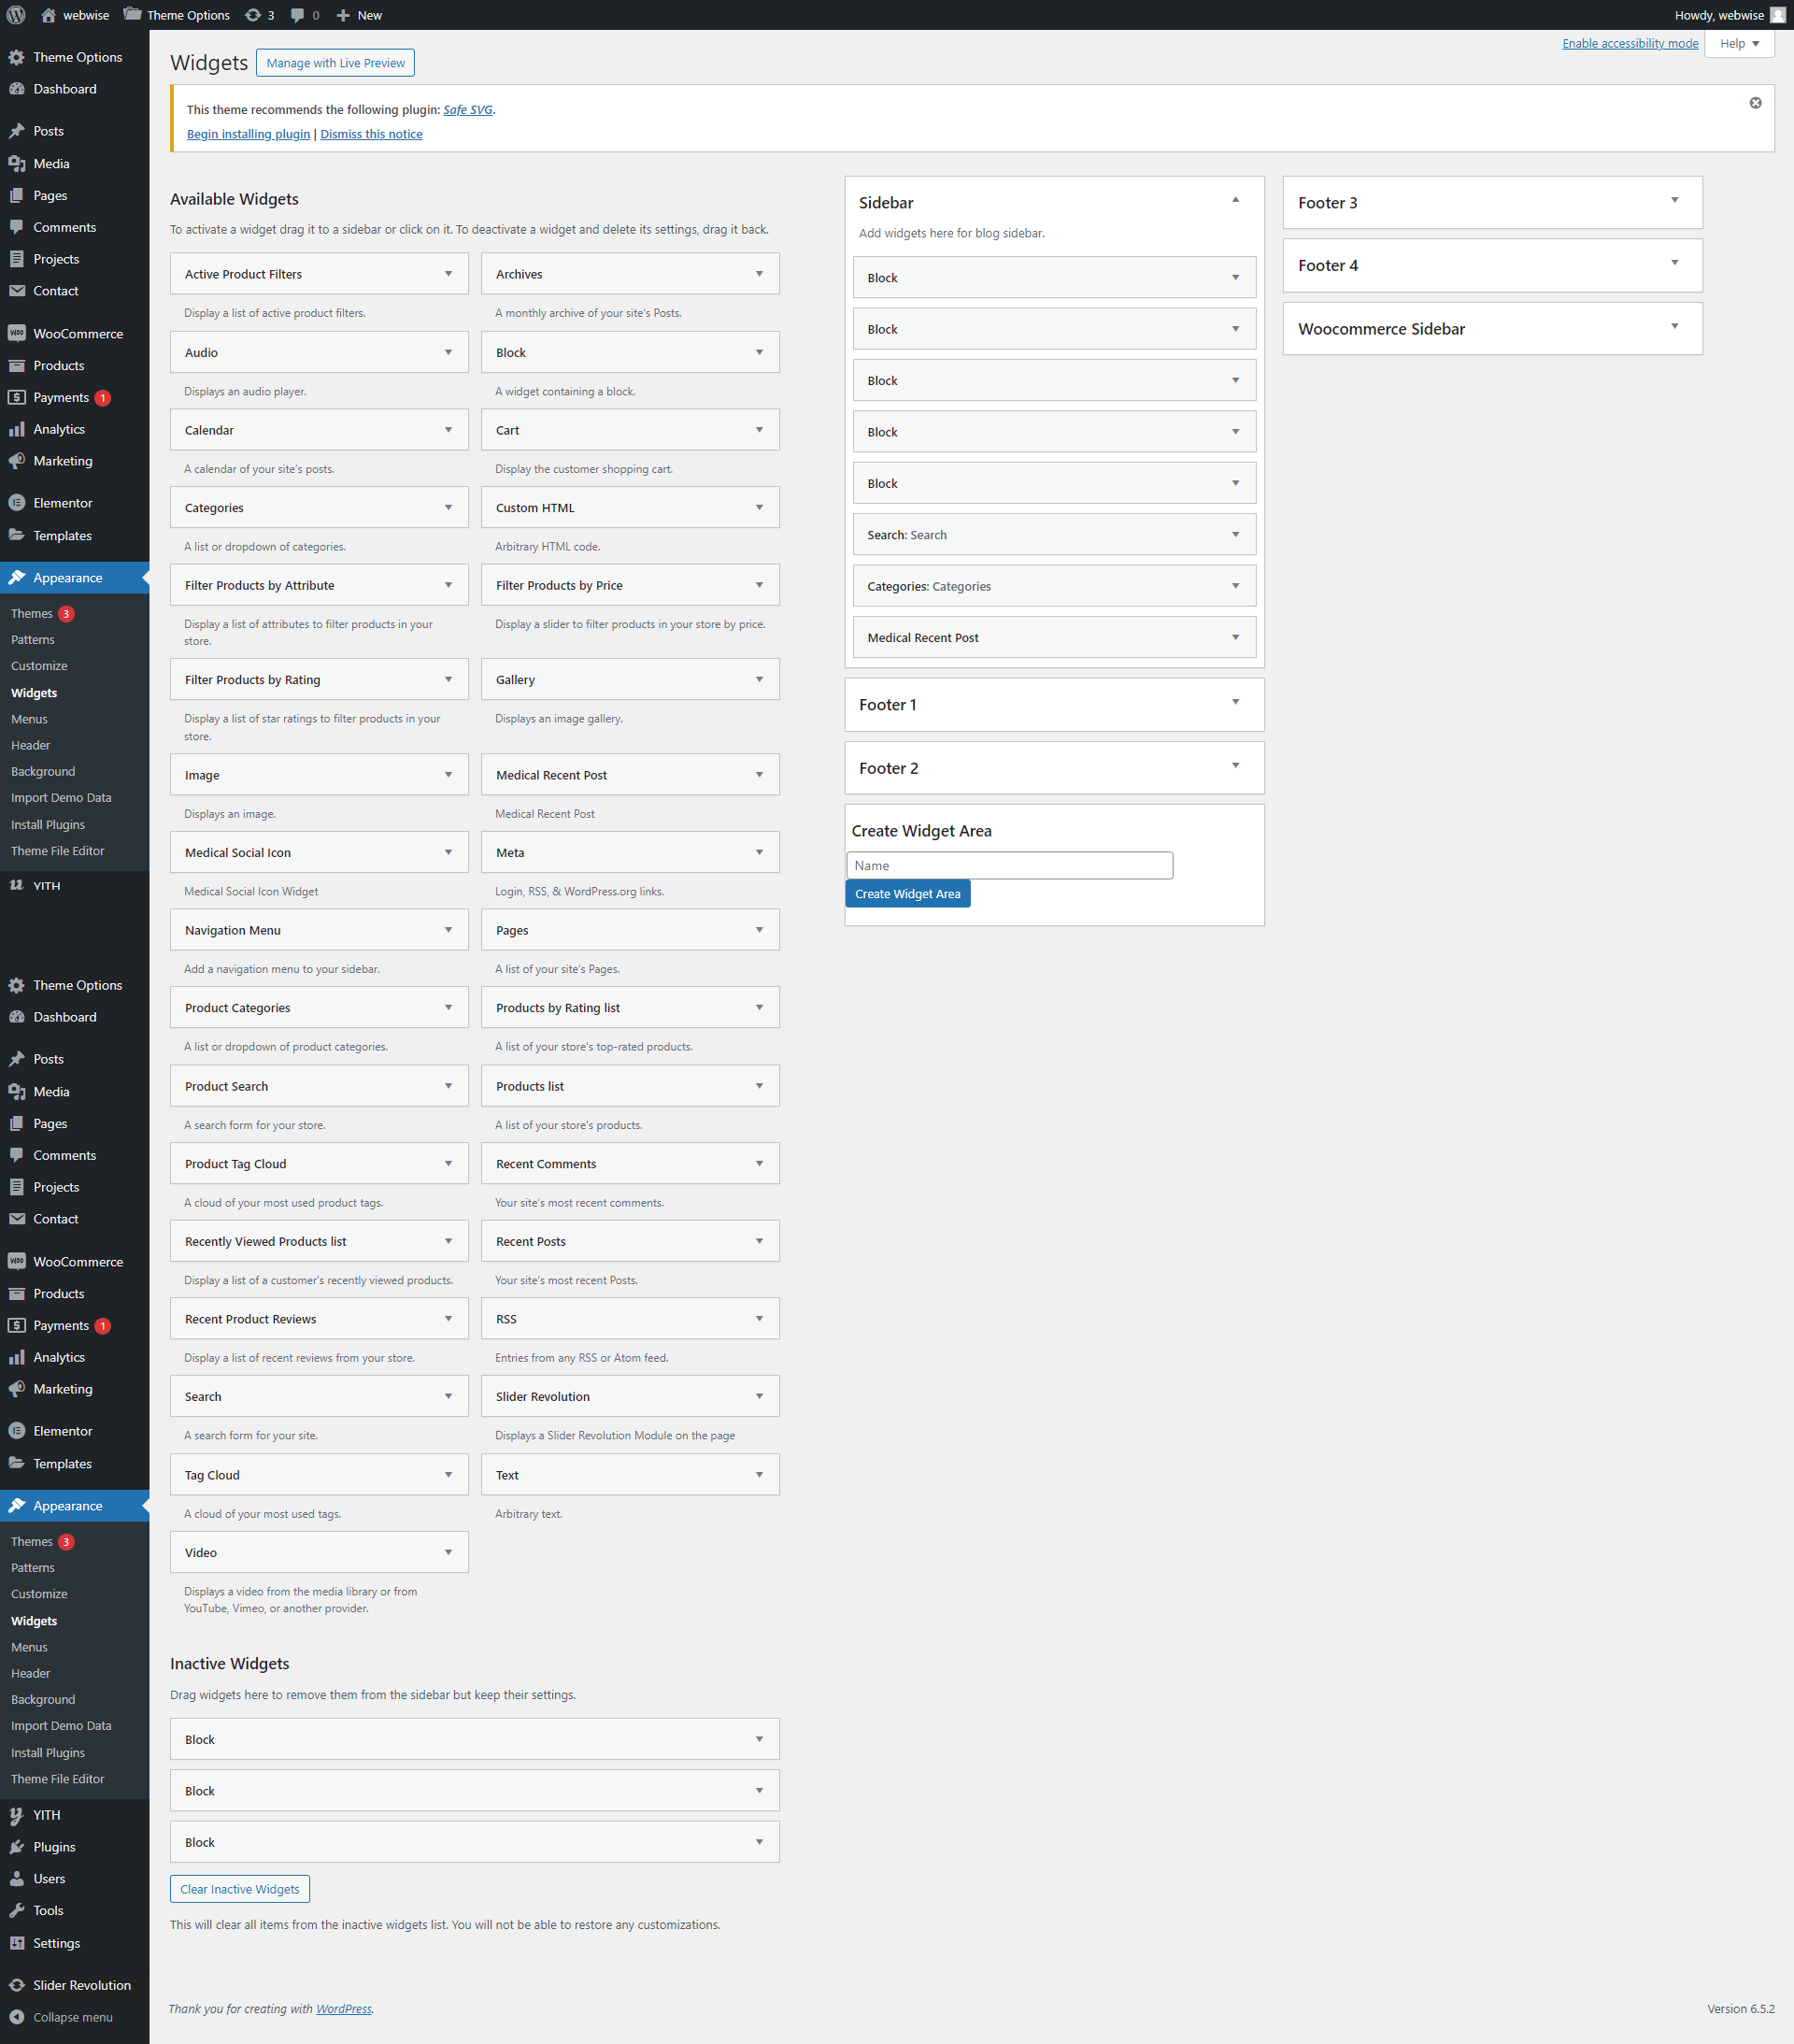
Widgets
Medical Equipment - E Commerce WordPress Theme includes several custom widgets. All widgets are accessed in the Widgets section of the WordPress admin. Widgets can be added to any sidebar, footer column.There are various fields and settings present to choose for each individual widget all are self explanatory. You can put as many widgets as you want inside of a sidebar or footer.
To Add Widgets, Follow The Steps Below :
step1- Navigate to Appearance > Widgets to access the list of widgets and widget sections that they can be added to. The left hand side shows all the widgets you can use. The right hand side shows all the different sections you can add widgets to.
step2- Simply drag and drop the widget you want into the widget section you want on the right hand side.
step3- When finished, make sure to click Save in the widget editing box to save the widgets added to your sidebar.
WooCommerce
WooCommerce is allows you to sell anything, beautifully. Built to integrate seamlessly with WordPress, WooCommerce is the world’s favorite eCommerce solution that gives both store owners and developers complete control.
Products get with the demo data.
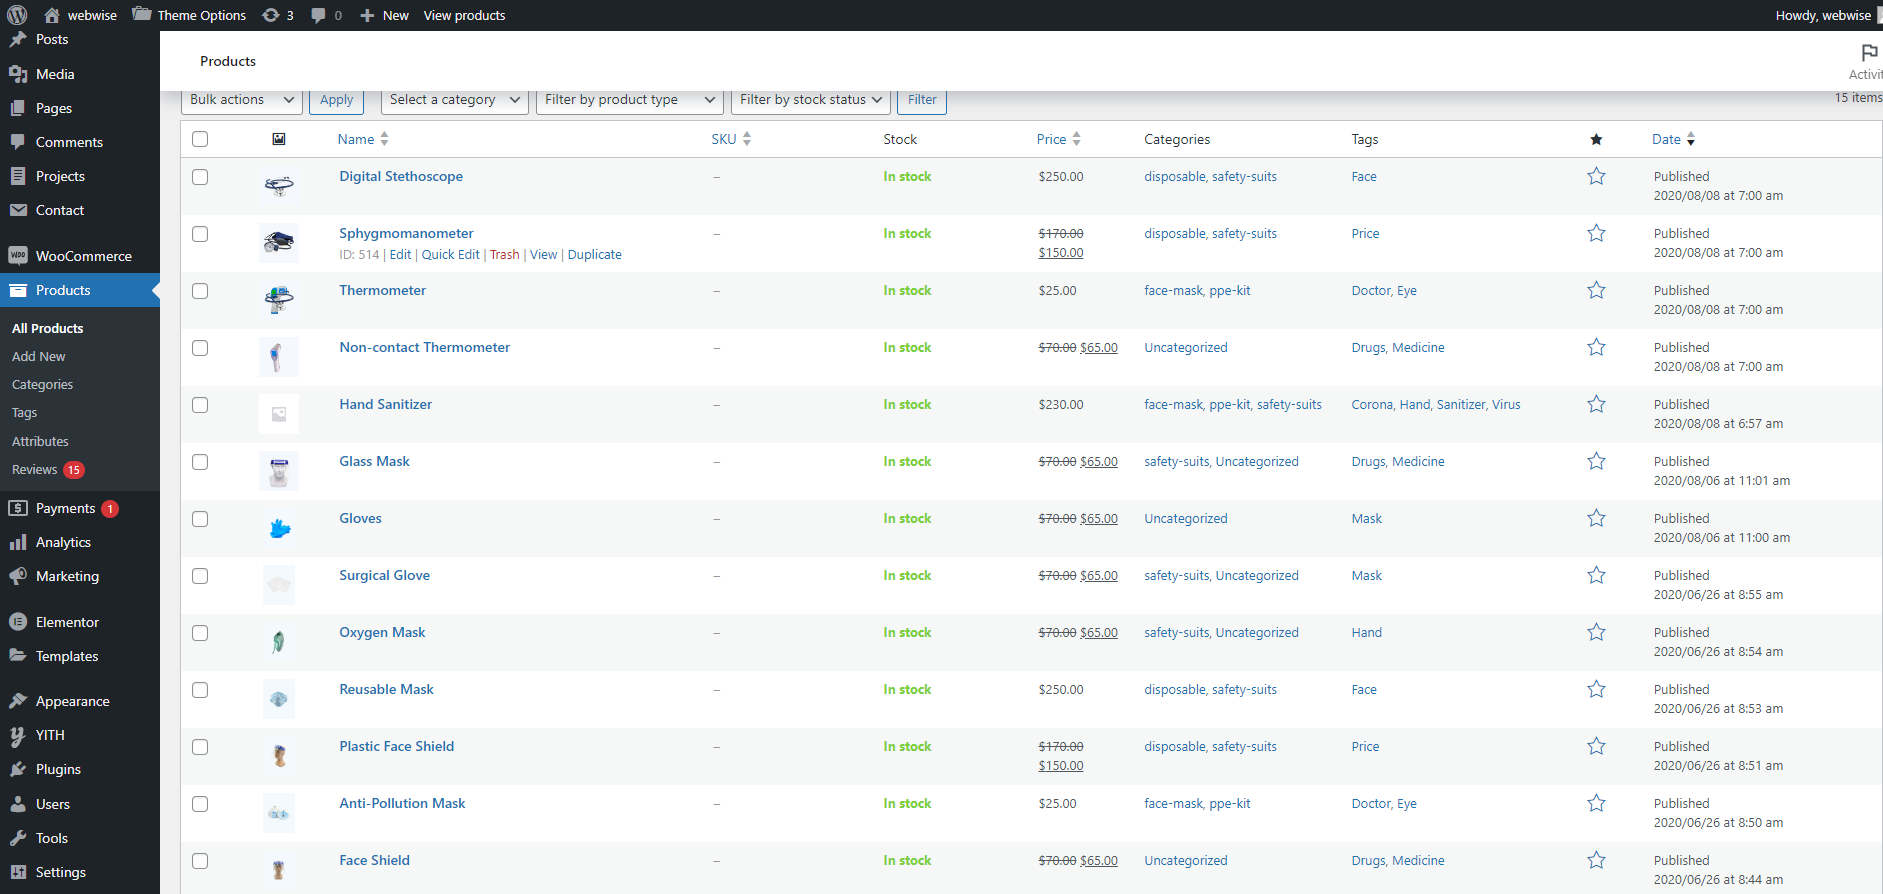
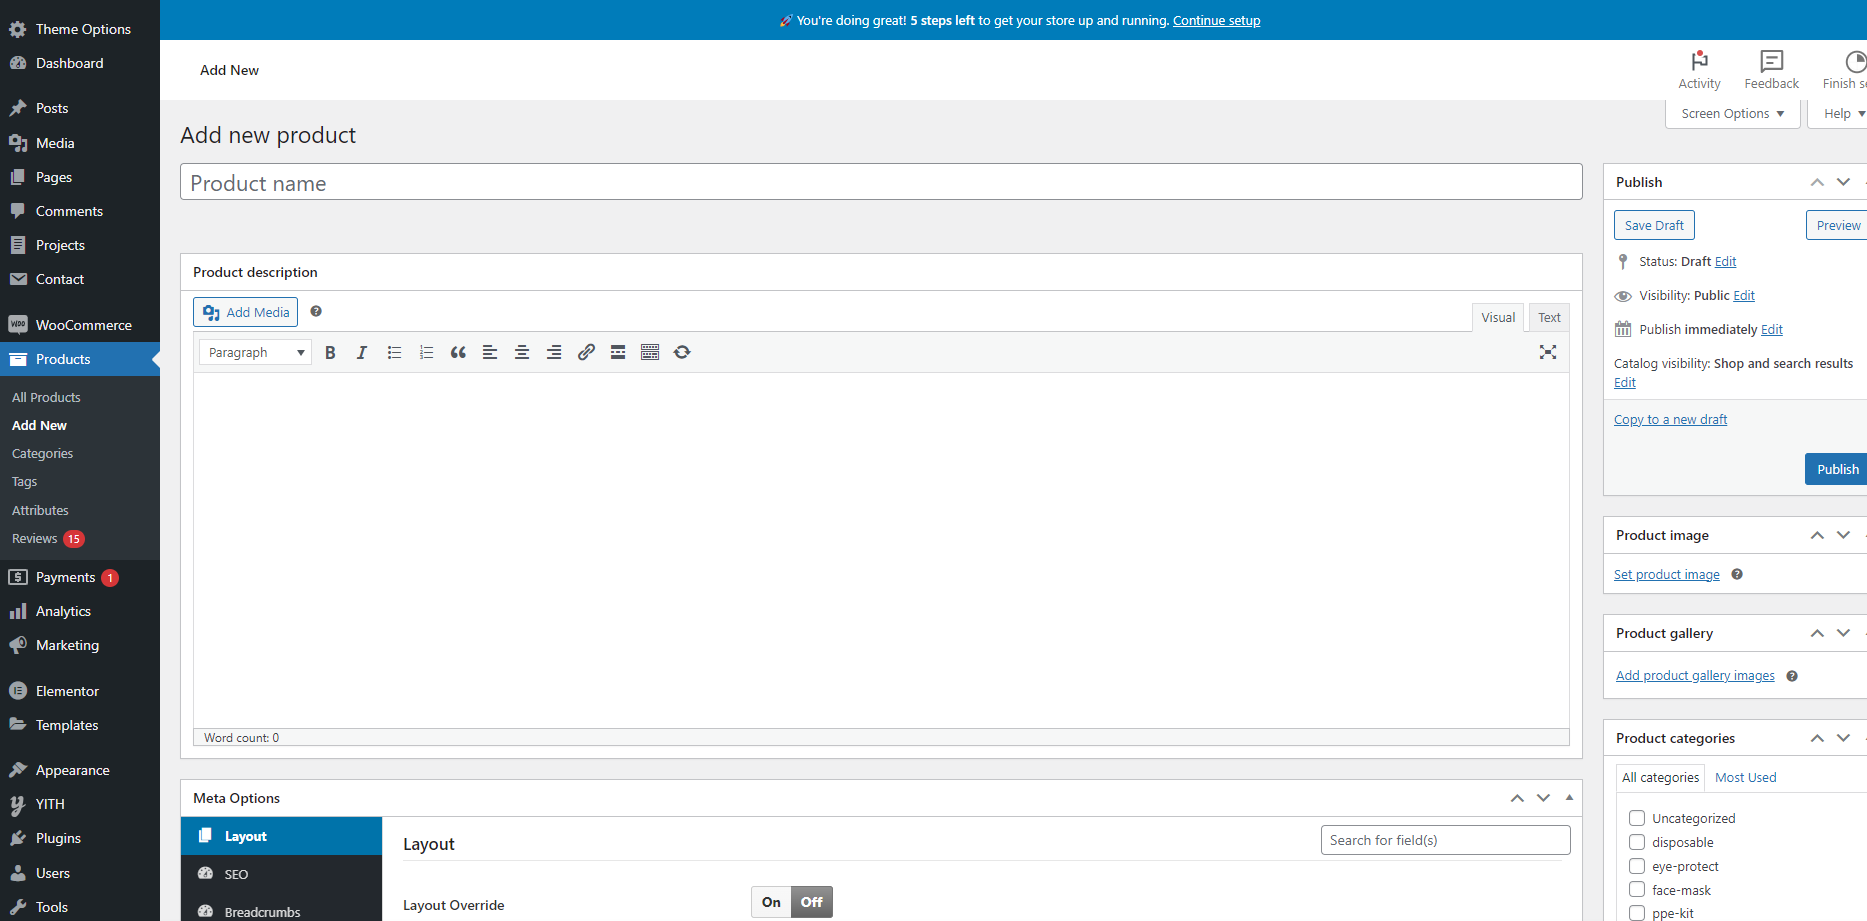
How to create/edit products
Navigate to WordPress dashboard >> Products >> add new
Shortcodes
How to add shortcodes
Navigate to Pages >> Add New.
After adding title of the page click on Edit with Elementor button, you will get custom built shortcodes under MedicalEquipment Widget Section.
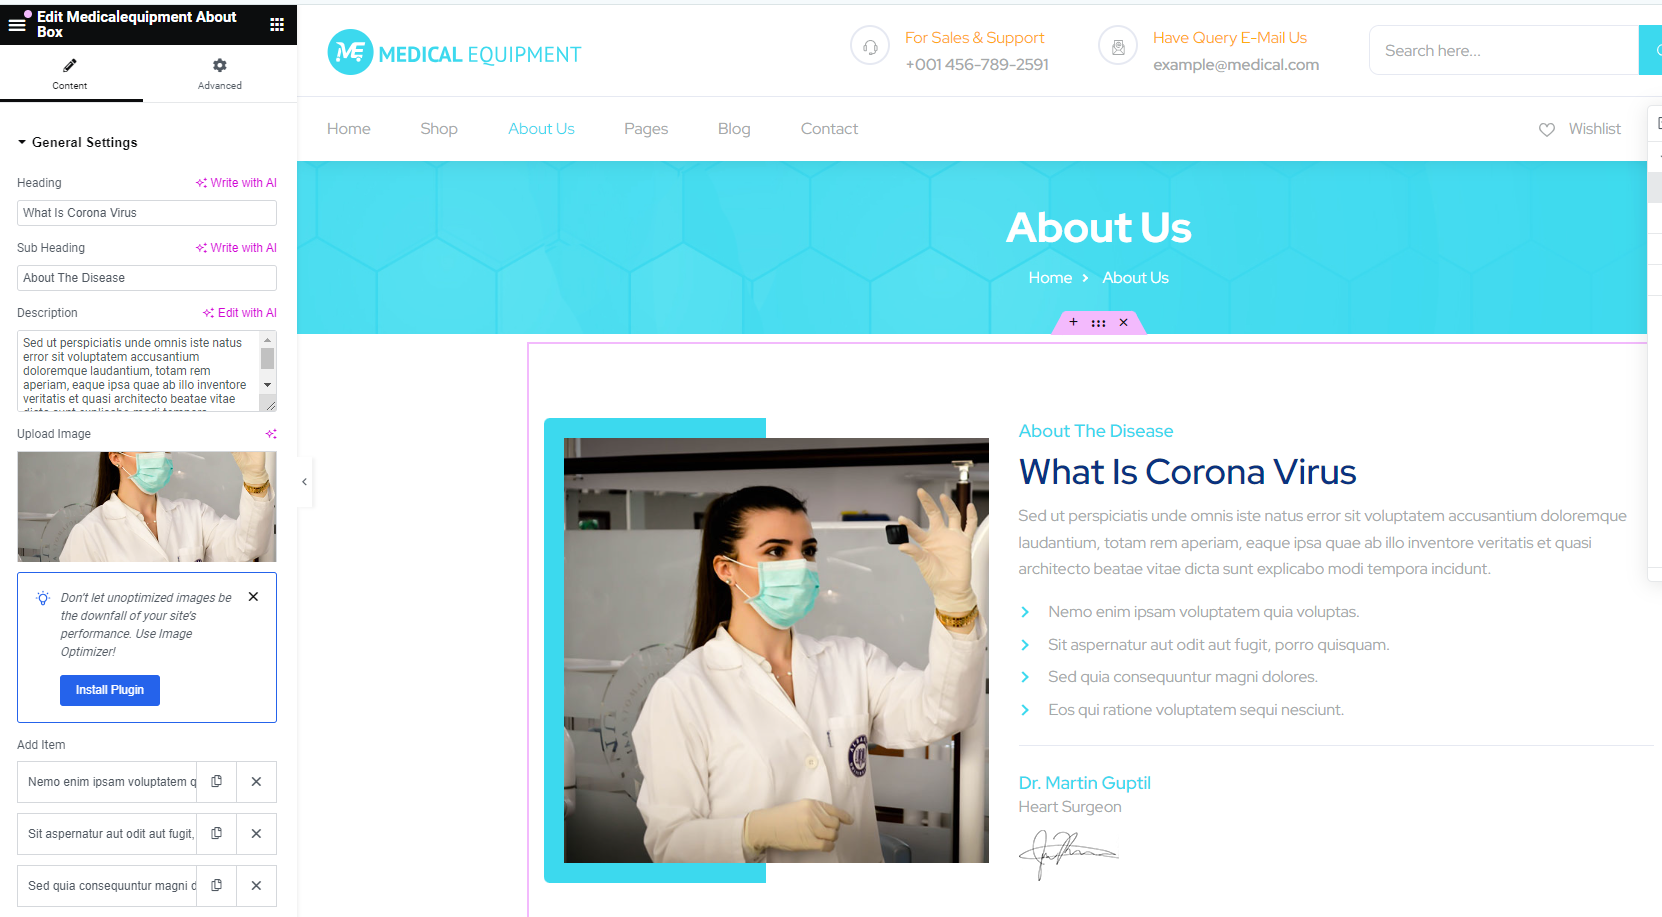
About Box
This shortcode creates a about section, in which you can add heading, sub heading, description, image, and more details.
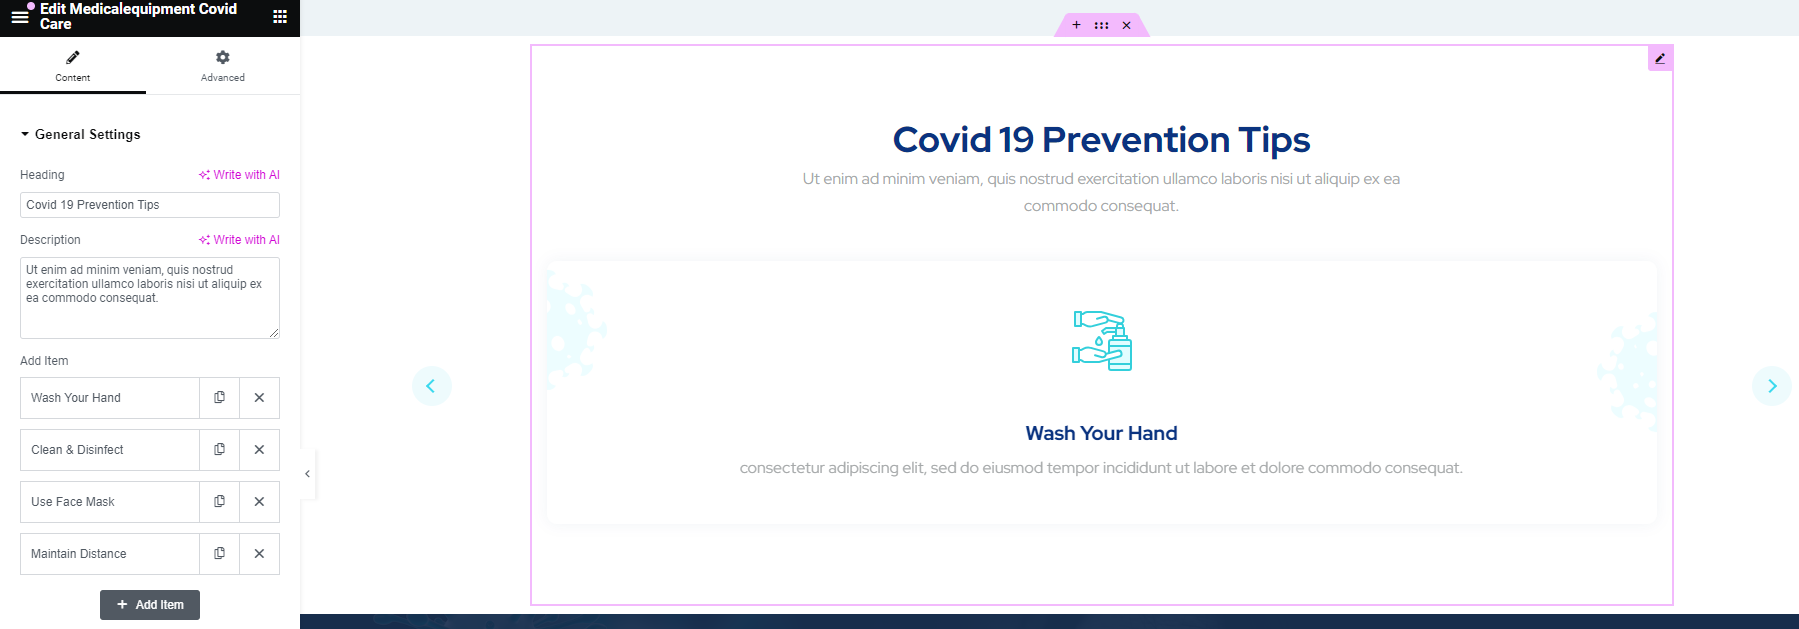
Covid Care
This shortcode helps to show prevention tips
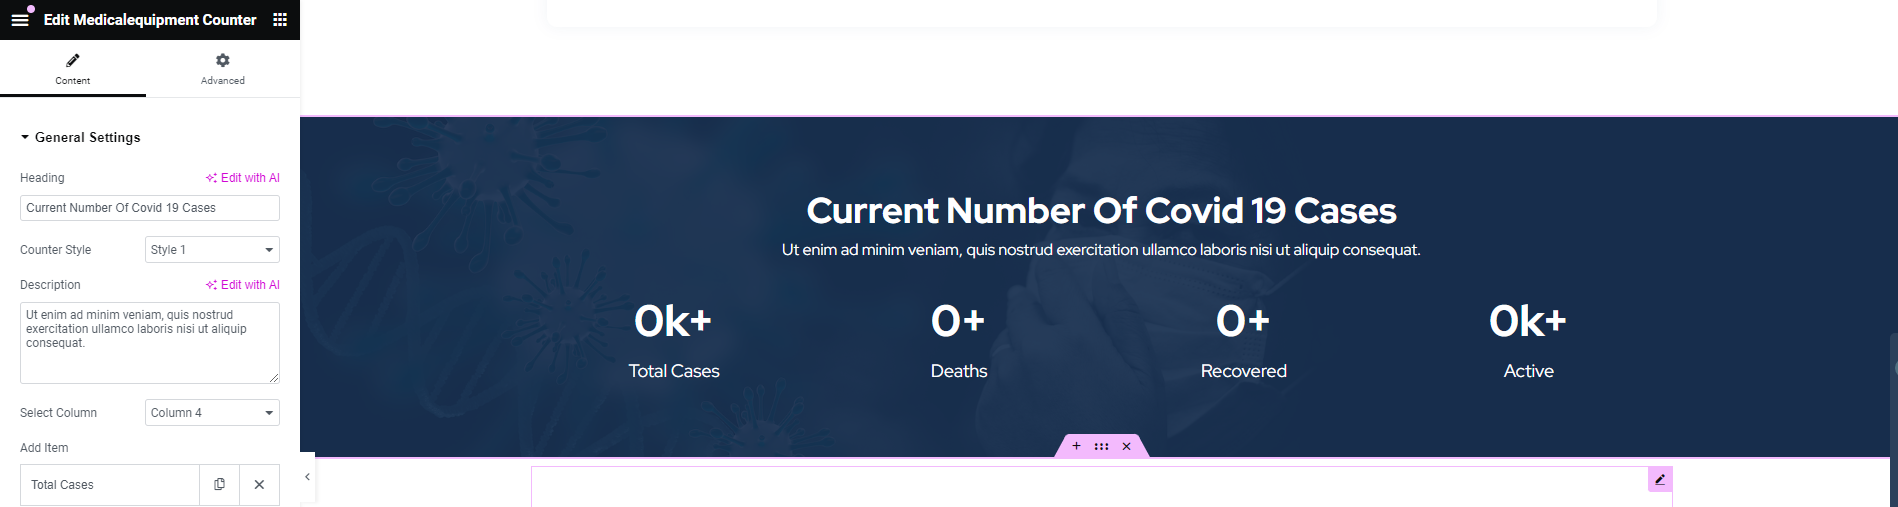
Counter
It allows you to show the counter on the site.
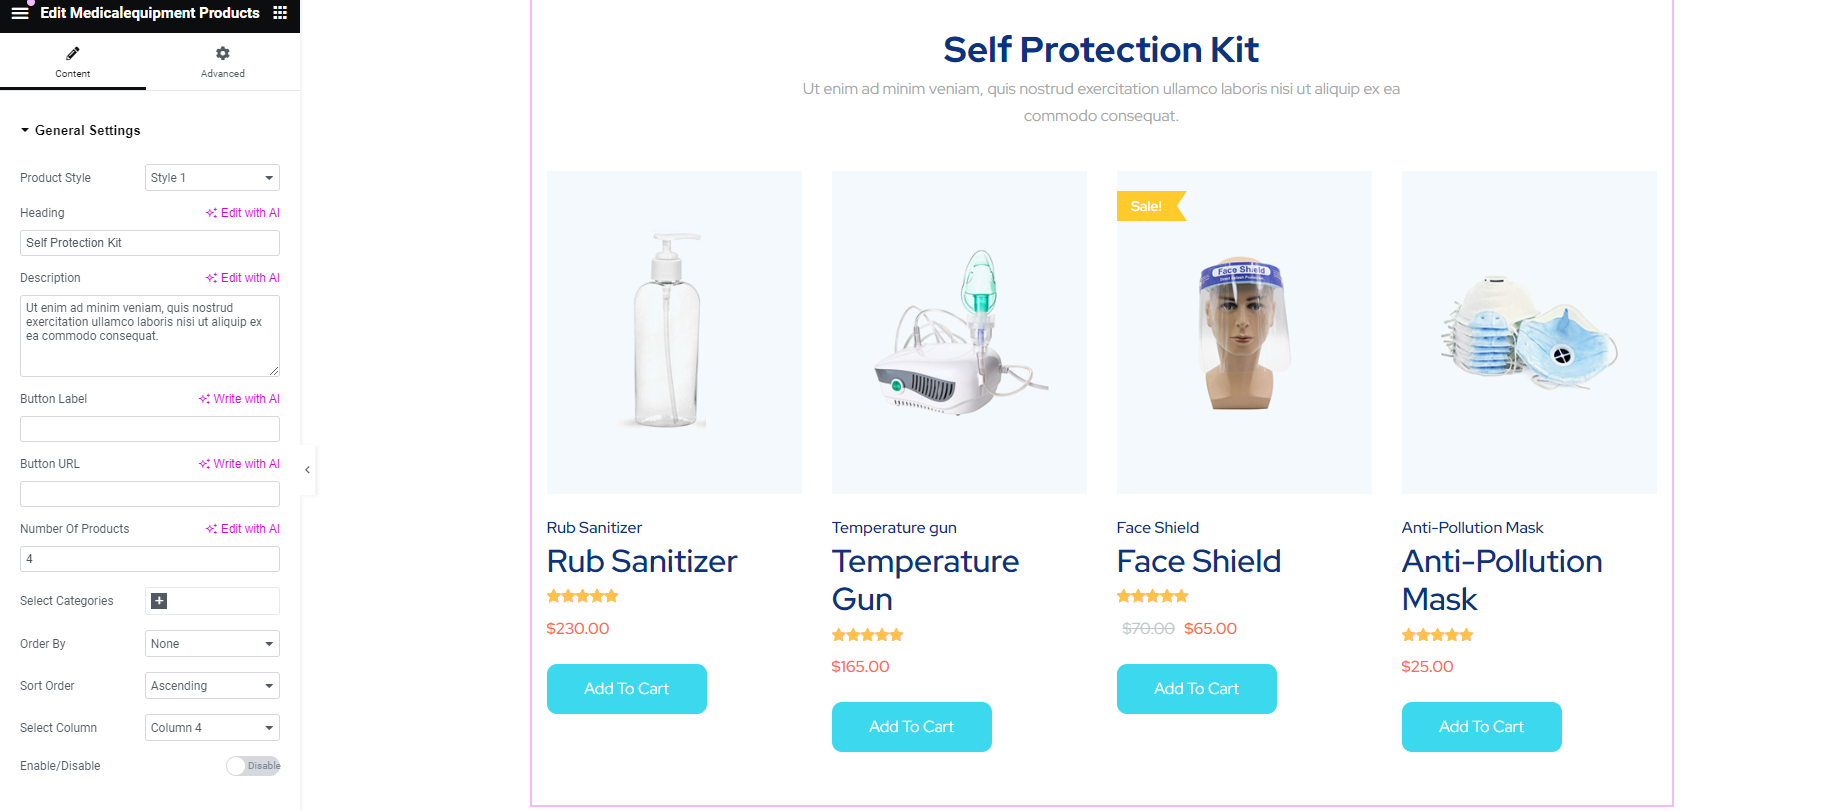
Product
This shortcode shows Woocommerce products.
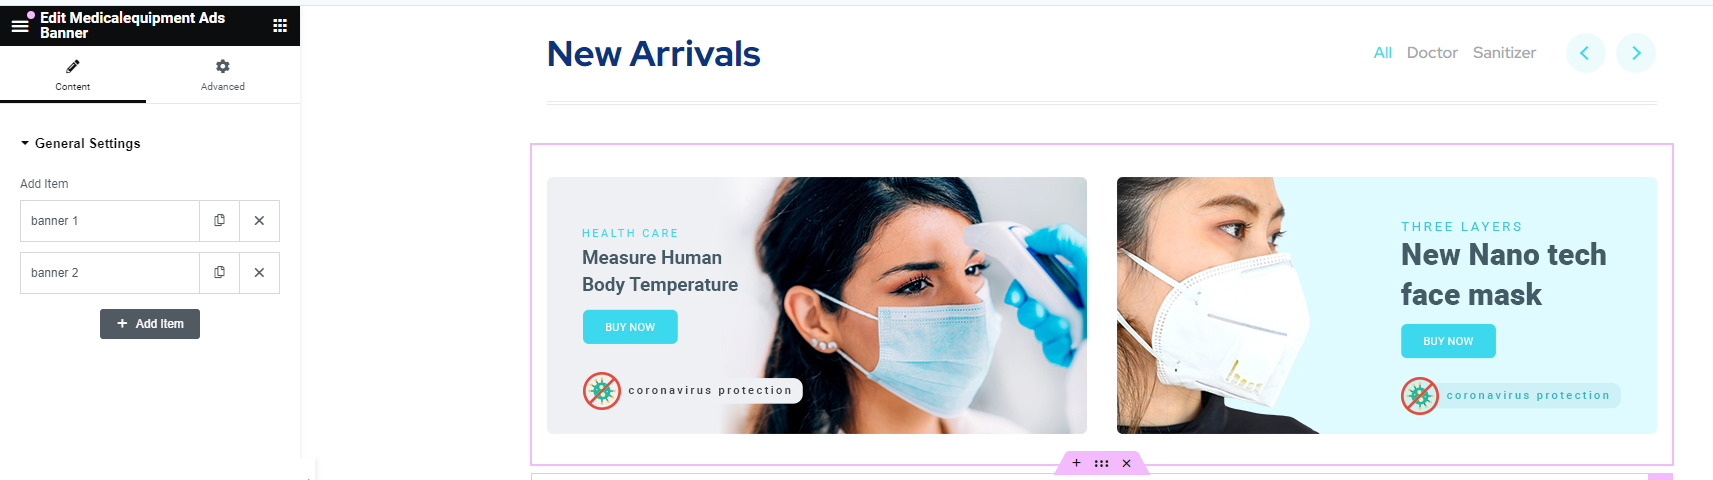
Ads Banner
Using this shortcode, you can show ads banner on your site.
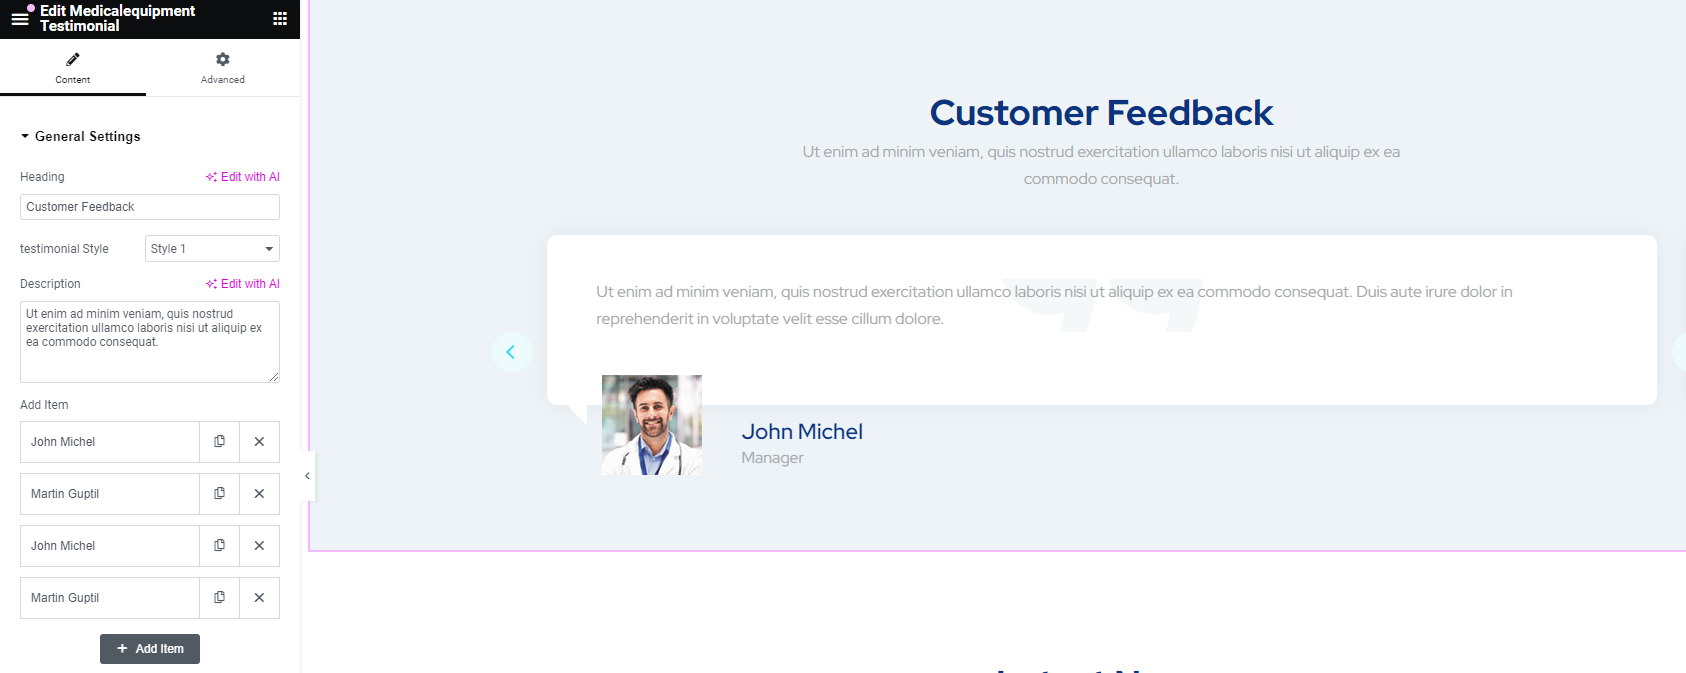
Testimonial
As the name indicates, it is used to show testimonials.
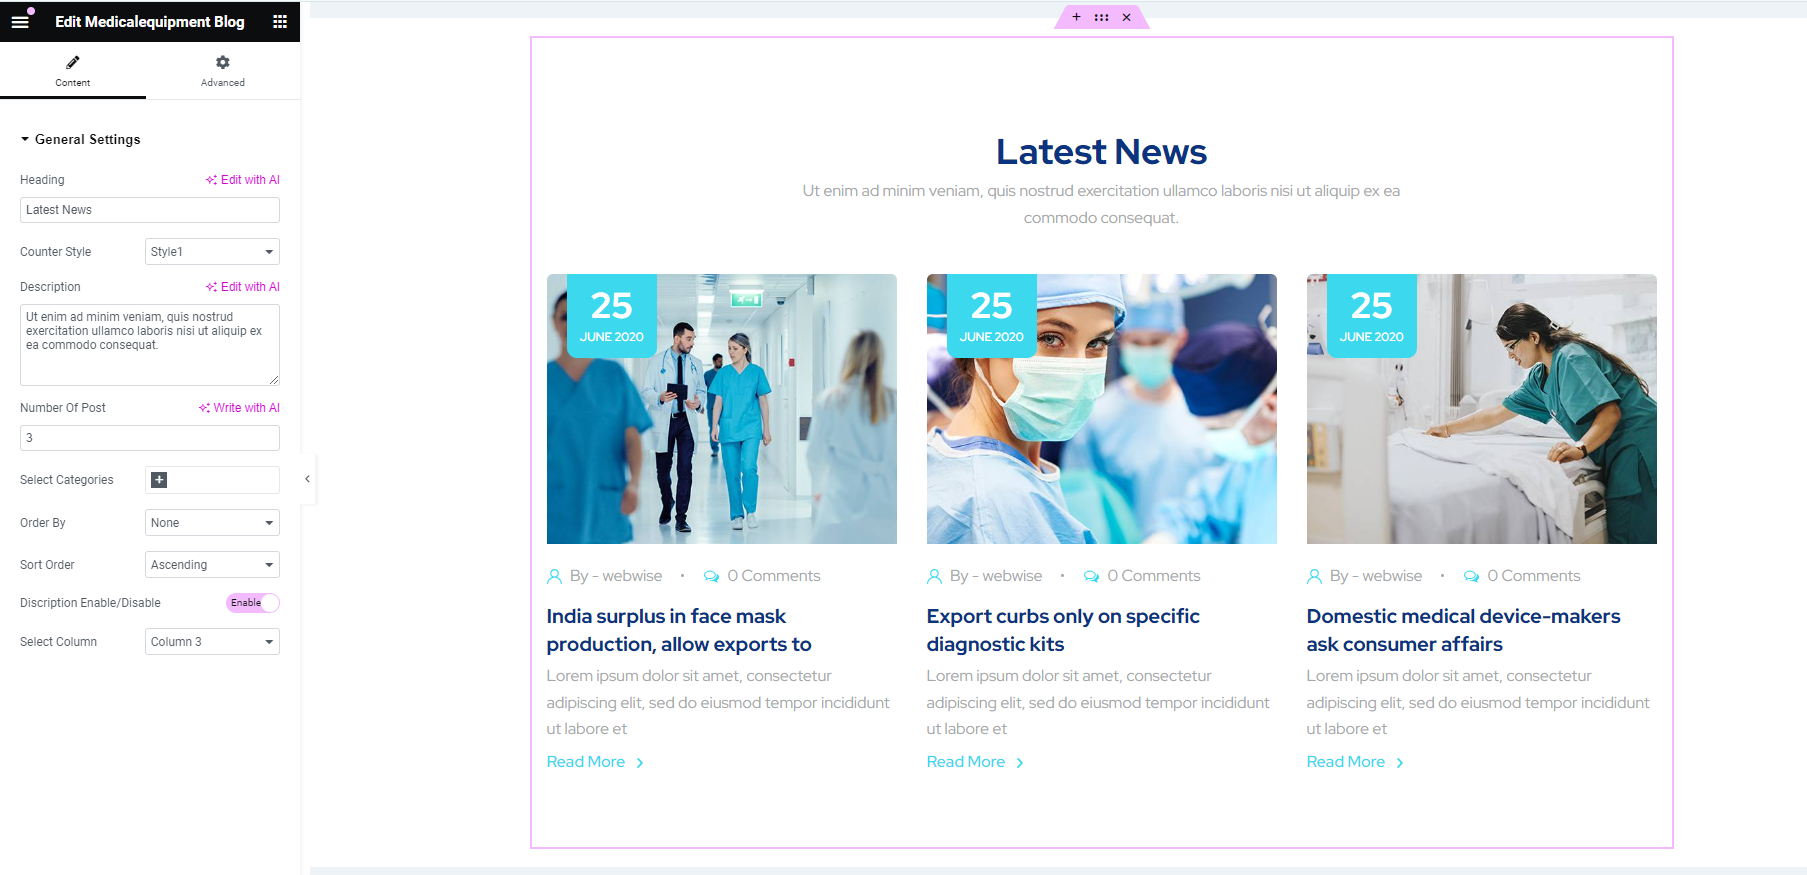
Blog
This shortcode display blogs to your site.
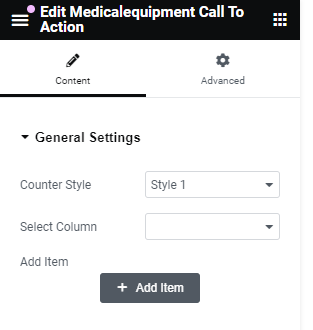
Call To Action
This shortcode enables you to add call to action option.
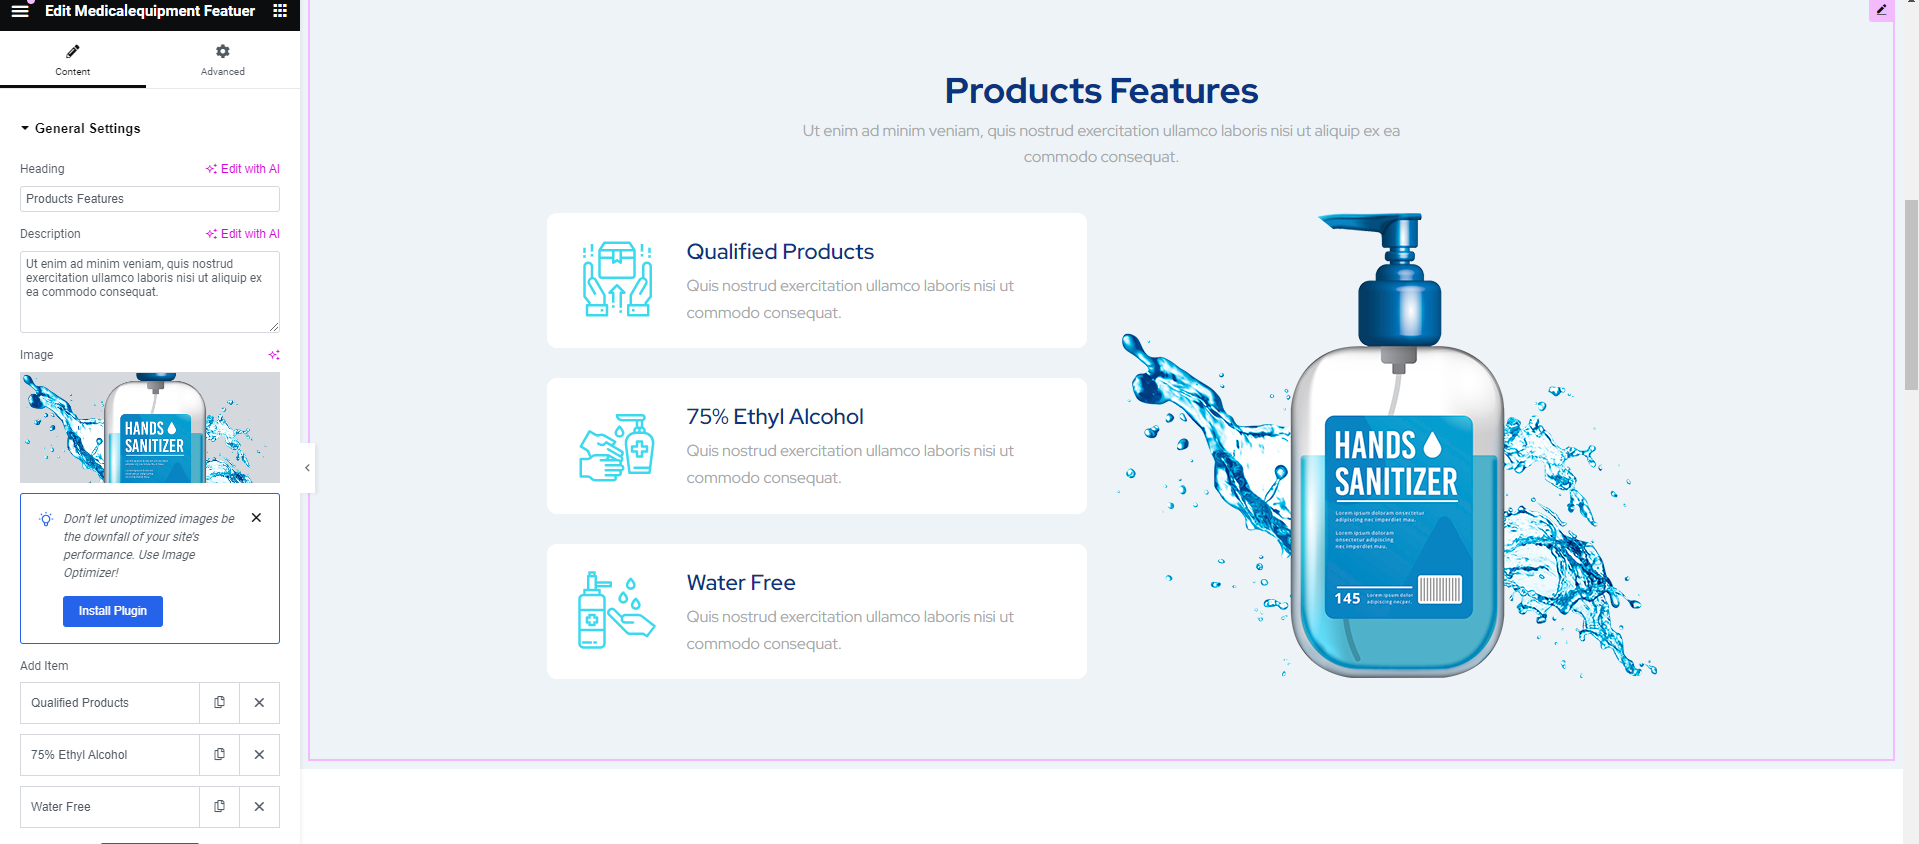
Feature
Using this shortcode, you can features to your site.
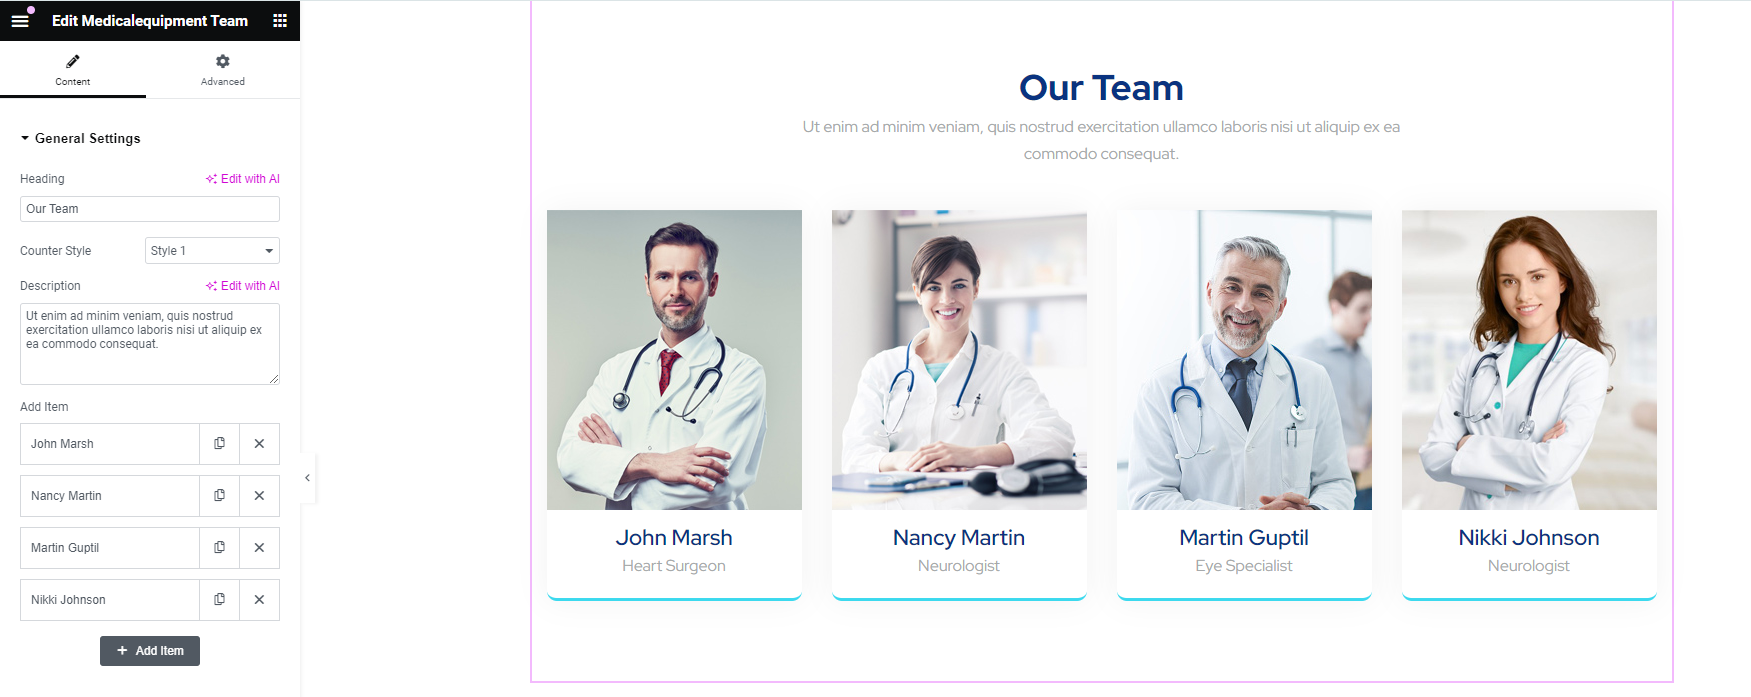
Team
This shortcode helps you to showcase the team.
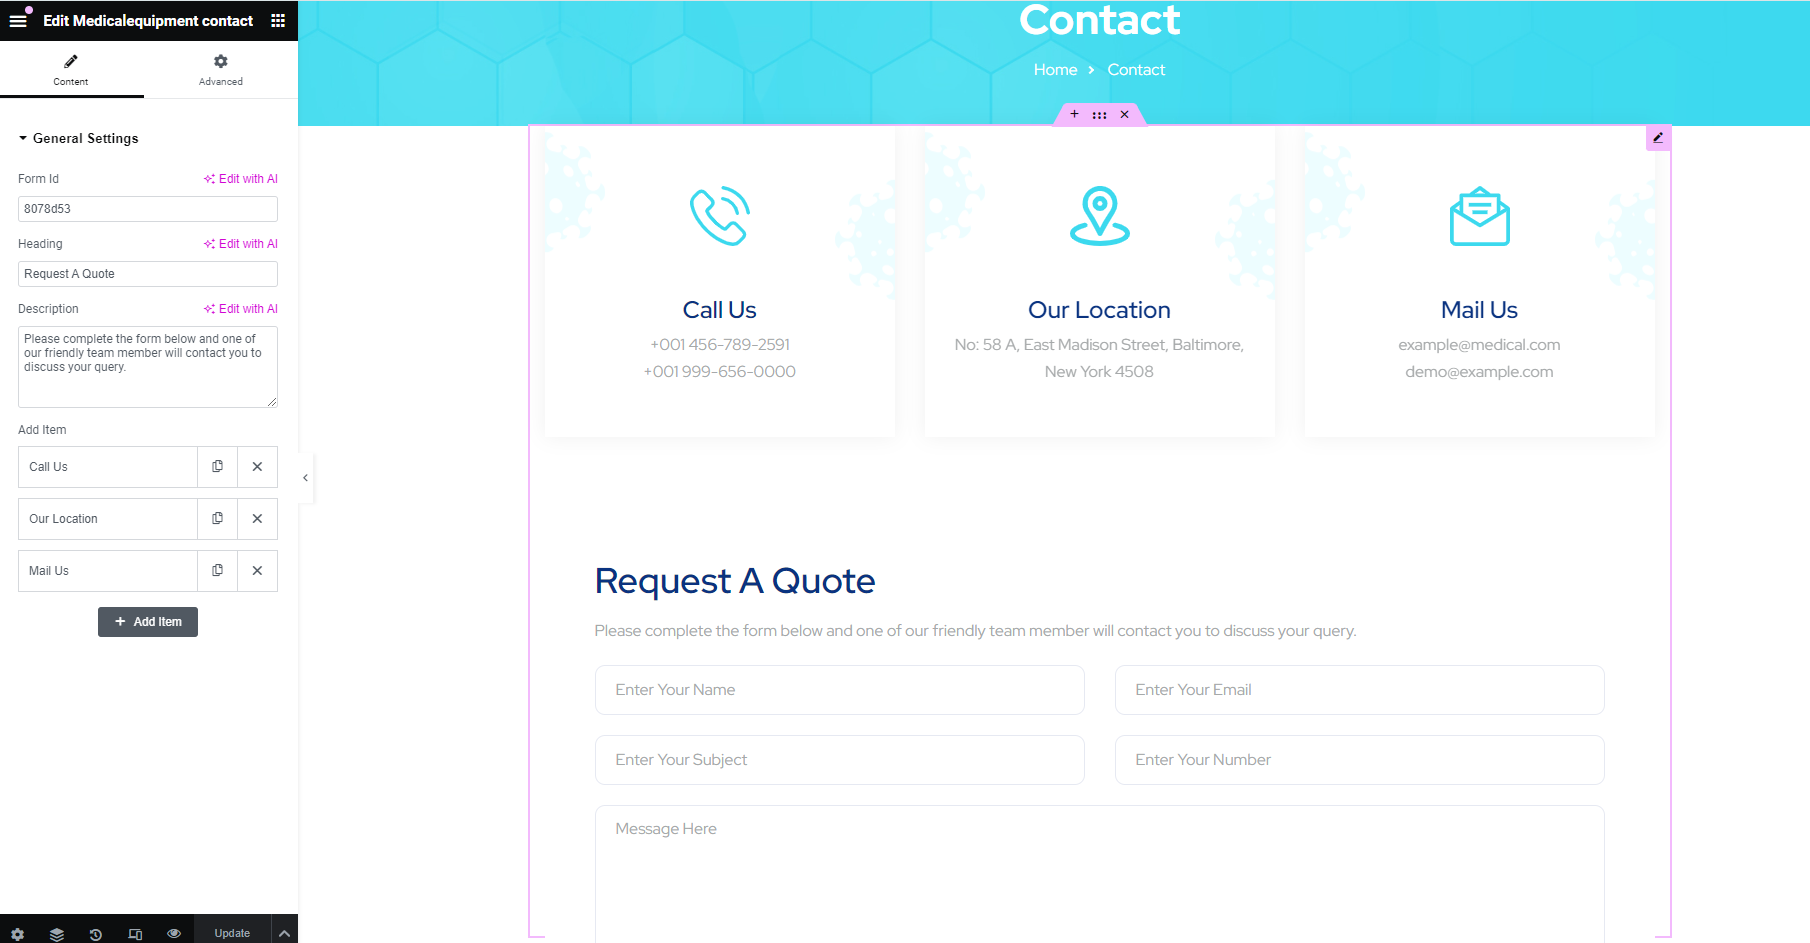
Contact
With this shortcode, you can show the contact form along with other contact items.
Client's Logo
You can use this shortcode to showcase client's details.
![]()
Process
This shortcode to describe procedure to your site.

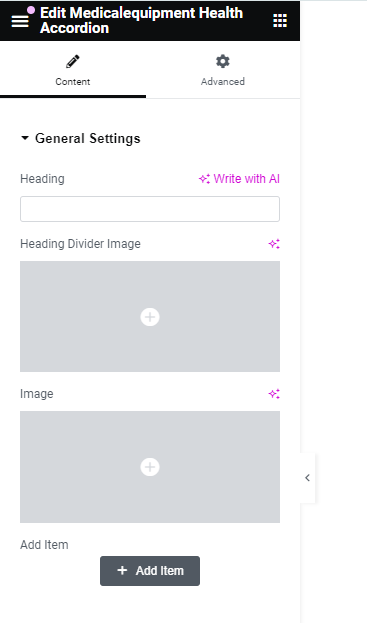
Health Accordion
You can display accordion, using this shortcode.
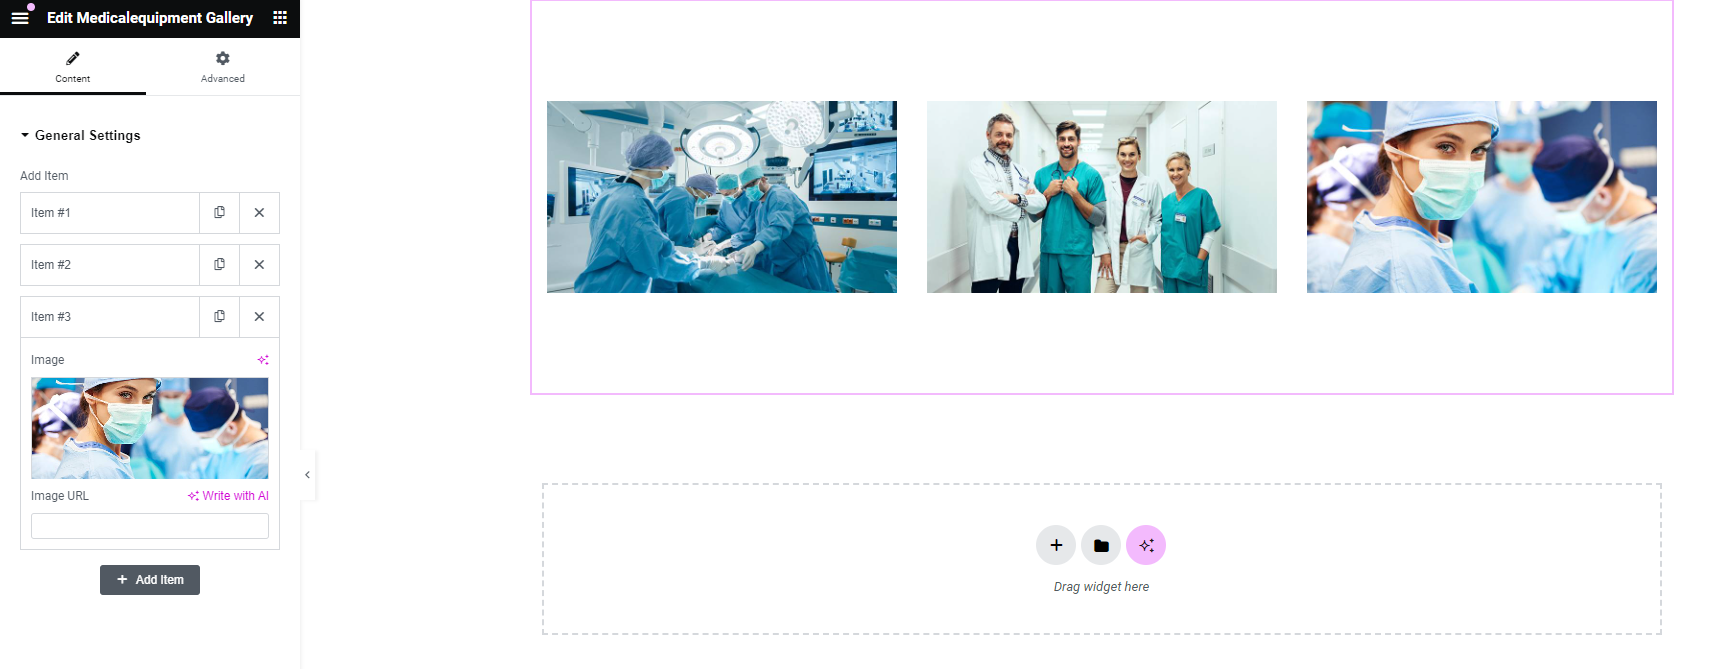
Gallery
With this shortcode, you can show gallery.
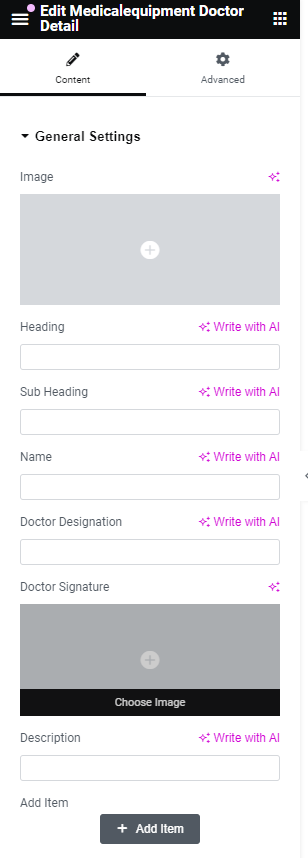
Doctor Detail
With this shortcode, you can show doctor details.
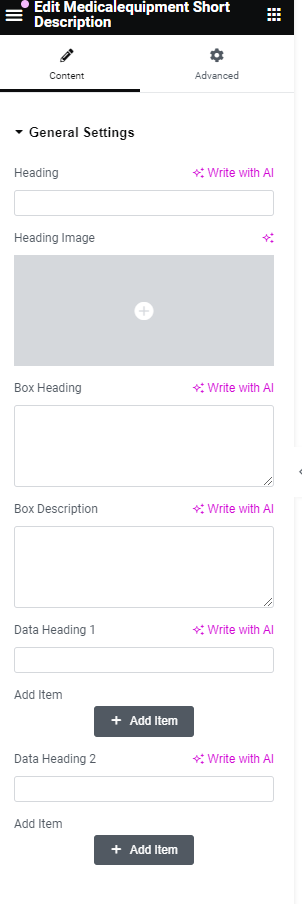
Short Description
With this shortcode, you add short description.
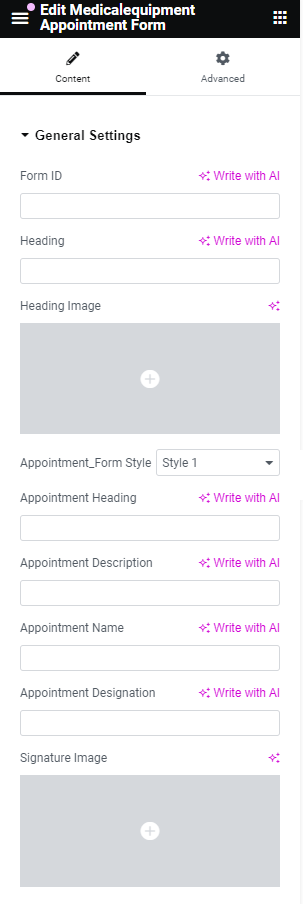
Appointement Form
It allows you to add appointment form to your site.
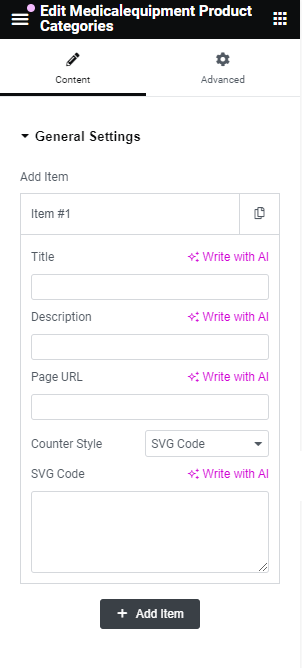
Product Categories
You can use this shortcode to show categories of the products.
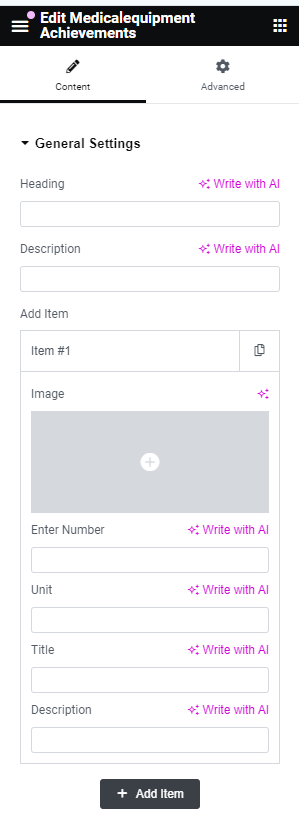
Achievements
It helps you to showcase the achievements.
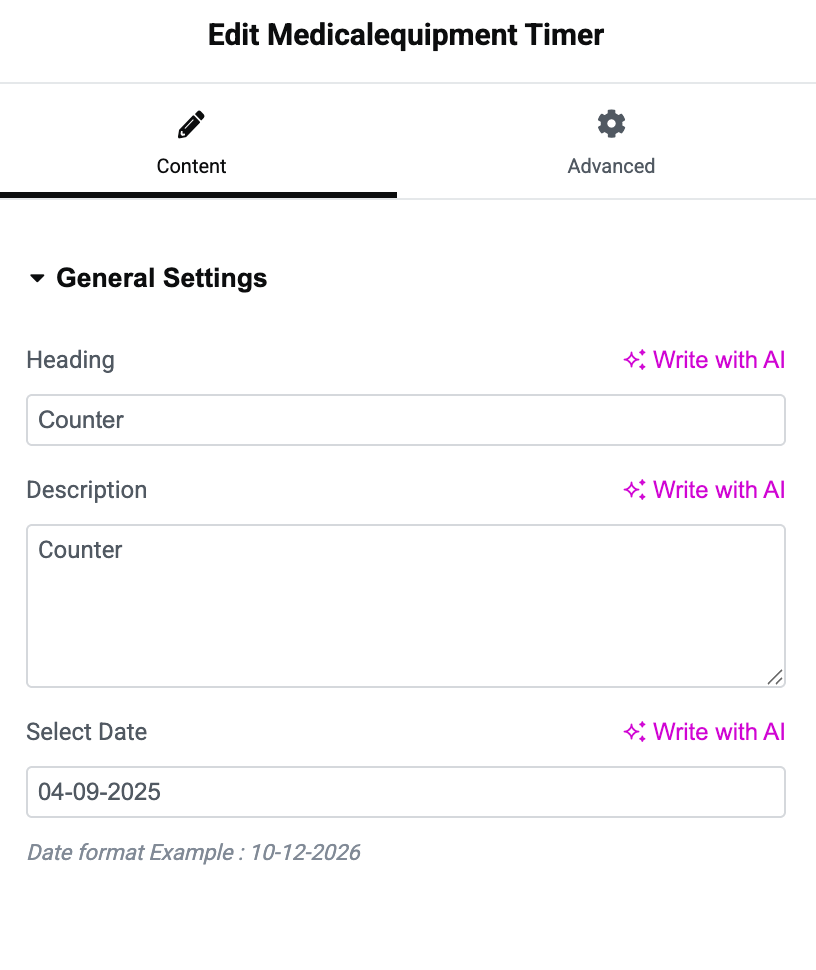
Timer
This shortcode helps you to show the timer on the website.
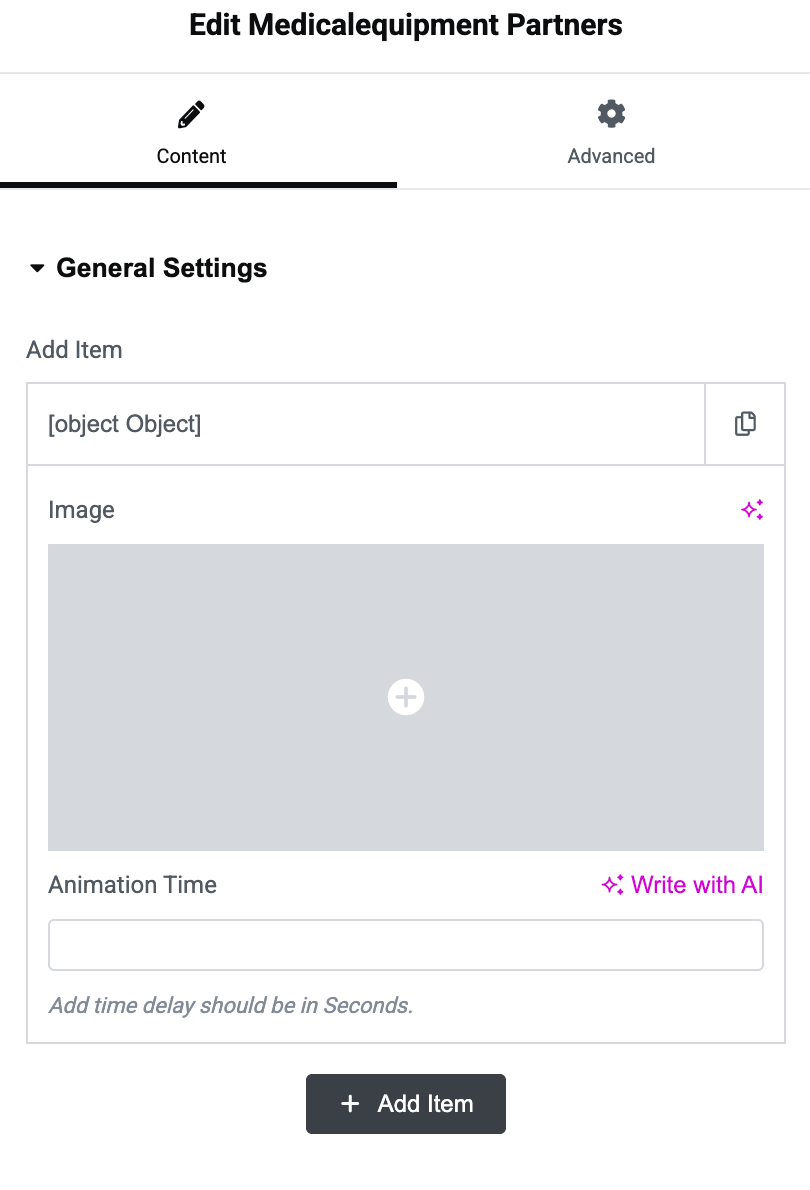
Partners
Using Partners shortcode, you can show business partners on the website.
Services
With this shortcode, you can display services on the site.

Banner
As the name depicts, this shortcode is used to show the banner on the site.

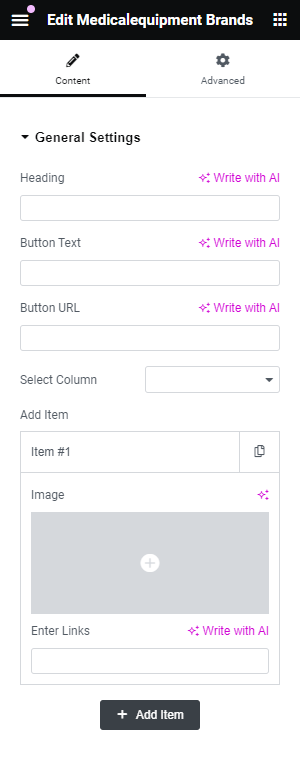
Brands
It helps you to display brand details.
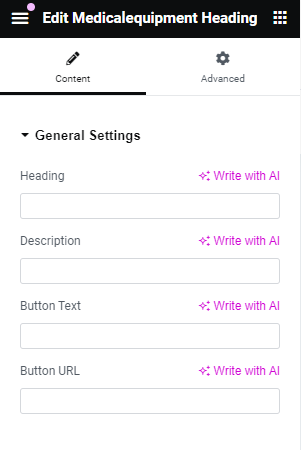
Heading
This shortcode allows you to add heading to your site.
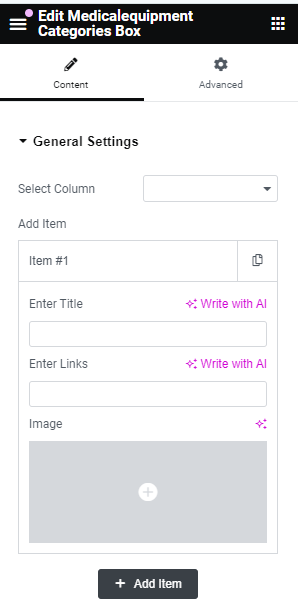
Categories Box
With this shortcode, you can show categories.
Help & Support
In order to receive a technical support assistance, you need to have a valid purchase code. To get the code, please navigate to your ThemeForest "Downloads" page and click on the theme download link.
After getting the Purchase code, please follow the steps mentioned on the link Click Here to get your product verified. And then share your Purchase code and token ID with the support team.
If you have any questions that are beyond the reach of this help file, feel free to contact us. We will respond as soon as possible (within 24 – 48 hours, usually faster). We are open from 10:00am to 07:00pm (IST), from Monday till Friday.
NOTE: As author of this theme, we do provide support only for the theme-related features.
Outro
Once again, thank you so much for purchasing this Theme. As I said at the beginning, I will be glad to help you if you have any questions relating to this theme. No guarantees, but I'll do my best to assist. If you have a more general question relating to the Theme on ThemeForest, you might consider visiting the forums and asking your question in the "Item Discussion" section.
www.kamleshyadav.com
Support Email: support@pixelnx.com